Why do you scrapbook?

Hi Leo here!

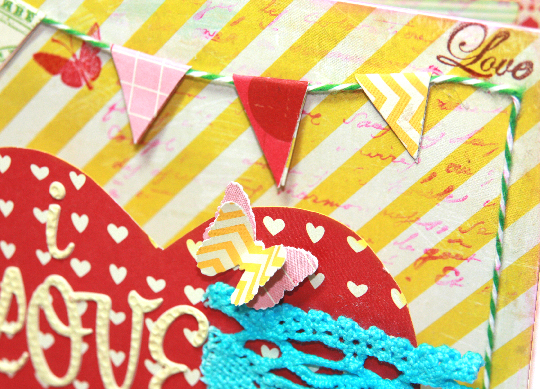
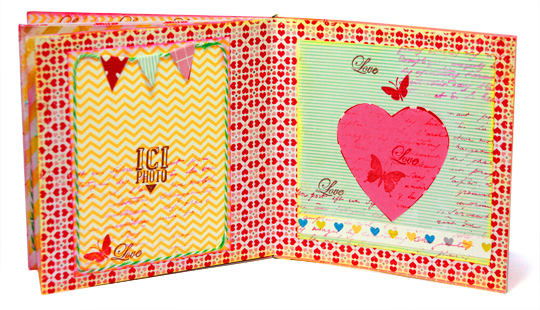
Thank you to Leila for those fab colourful projects :)

Today I've got a layout idea for you using the main kit 'Love of Paper'.
I don't know about you but I have some albums that are full of random pages, some about me, some about random days or random photographs. Thinking about this I wanted to make a kind of introduction page or 'first page' to one of these albums. The tag in the main kit also got me thinking of just why I love scrapbooking too. So after playing around with the bits and pieces I had leftover I came up with this layout:

I started off with the Studio Calico Rosebud paper as this was the last whole sheet of paper I had in the kit. I like the library card on the back of the paper and thought it'd make a great journalling card so first I've cut that out of the paper to use later.


Using one of the sheets of vanilla cardstock I've added a piece of paper to the lower right side. This paper is the street map bit on the back of the Studio Calico Rosebud paper. I cut a long three inch strip off the bottom of the Rosebud paper first then this bit was what was left on the remaining piece.


The next paper I've used is the Crate Paper one with the blue lines. I'm just using off cuts here but it's roughly 5.5 x 12 inches.


On the layout the back block of paper is a pocket to add in the photo and other bits and pieces. To make the piece of paper a pocket all I've done is turned over the paper and added strips of doublesided tape to the bottom edge and both sides. I've then cut some strips of cardstock and glued those around the edges of the tape, just so it runs along the edge of the tape. This will stop what you put in the pocket getting stuck in the tape.


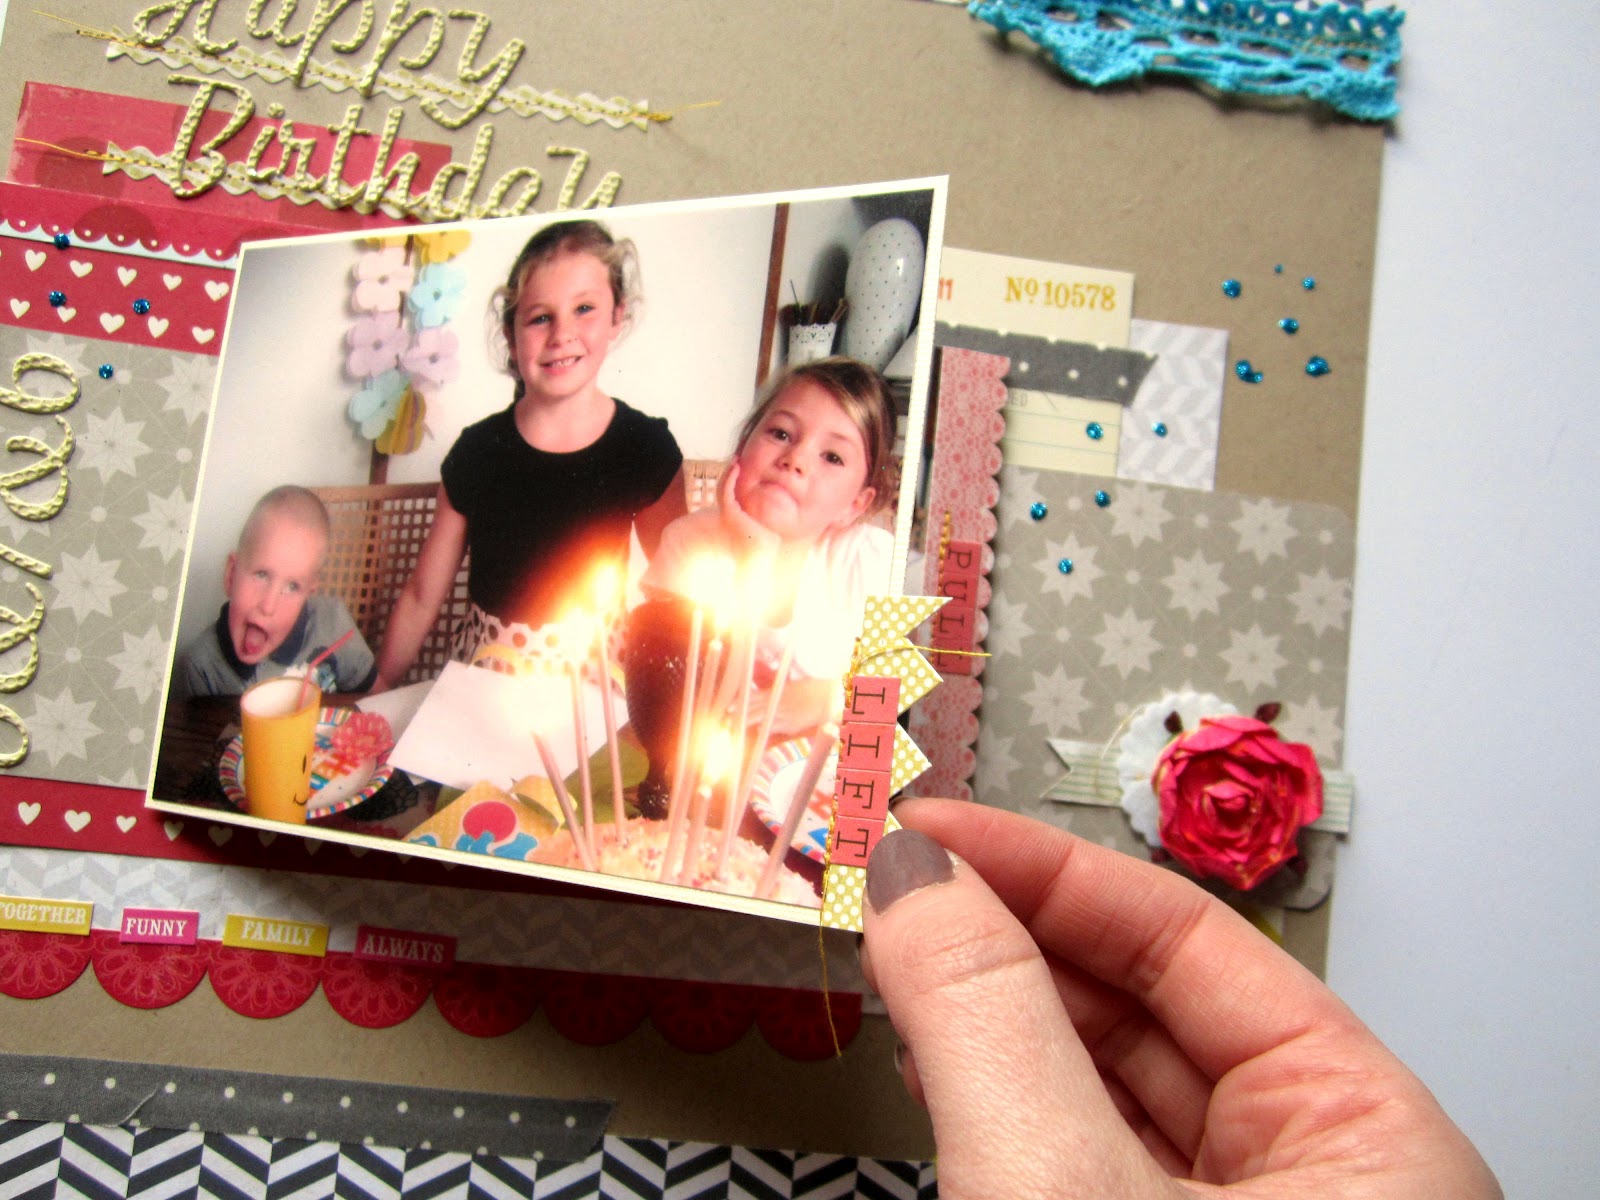
To make the photo ready for the pocket I've first matted to a piece of card then stitched a little pull on the top edge made with a piece of the calico fabric. These alphabet stickers are some October Afternoon ones from my stash.


Now I just need to add the pocket to my page. To make sure I get the placement right I popped the photo down first then fixed the pocket down over the top. It's roughly 2 1/4 inches away from the top of the page.


Next I've used more paper strips over the top of the blue stripe paper. I've used the strip of the Rosebud paper I cut out earlier and a smaller strip of the Echo Park chevron paper.


I wanted to break up the paper strips a little bit so I've added a paper doily on top of the all layers.


Next I added the library card cut out that I'll be using as my journalling block.


To that I've added the 'I *heart* scrapbooking tag underneath. I popped some string through the top and stitched it down then added a layer of washi tape and some of the faux fabric tape I made with the fabric in the kit, (see posts further down for a how to for this it's mega easy).


Next I'm going to add the banner of bits and pieces that runs alongside the journalling. To start with I've added a small line of glue where I want the banner to be.


Then used a piece of twine, (this was leftover from the Downtown Tea Party kit) pushing it into the glue.


For the bits and pieces I've used the embellishments from the kit and one of the cuts outs on the Rosebud paper which I've distressed around the edge. The tag I've added one of the chipboard stars on top then the pencil button.


All these pieces I've added on top of the twine so it looks like they're hanging off it. With the bow button I cut the back off first then glued it down so it lay flat.


The edges of the library card are quite vintage looking so I thought I'd echo that around the edge of the layout and I've just used a grey mist dipped into with a paint brush and brushed around the edges.


In the top right corner there was a space that looked a bit empty so I used an off cut of the Echo Park paper fixed in place with a little washi tape then stamped over the top of it. The heart stamp is from an American Crafts set and I've used smoky grey Versafine ink. While my inkpad was out I also stamped on the date in the same colour.


Finally all that was left to do was fill in the journalling. I knew what i wanted it to say so but I needed to make sure it read right first so I scribbled out my thoughts on a piece of paper first then copied it out on my layout. With the colours in the layout being soft I went for a brown ink though if I'd had one I would've used grey, defo my next investment in my stash I think! :)


I've added some journalling to the back of the photo too. I'm going to add more photos to the pocket when I get some more printed off.


That's it done :)

So, how about you? Why do you love scrapbooking? Why do you make your scrapbooks? Maybe it's just as important to share why you make the memories on a page in your scrapbook too. Have you done something else with the tag in the kit to share?

xx Leo

new banner project

Hi!
This is  Leila from lilibeeStudio again.This is an other project i made using Quirky kits fabruary kit:

 I love this cute little pencil button!

Thanks again Leonora for inviting me to be this months guest designer.I really enjoyed creating with this beautiful kit.
Take care :)

Valentine Popup book

Hi this is Leila from LilibeeStudio.
I am happy and hounored to be Quirky kits february guest designer.
This is the first project i designed with this month  beautiful kit.It's a Valentine gift minibook :


I hope you will enjoy this project.
I have papers and embellishments  left so i will be back soon with more projects to show you.
Take care :)
Leila

What quirks make up you?

This month the kits give you the opportunity to make pages about things you love and that got me thinking of my sock collection!
My love of patterned quirky socks started way back before my love of quirky fun paper but I guess in a way they're very similar as they're both bright and fun with different patterns! Just like with paper too I do find it hard not to go shopping and to pick up at least one new pair.

Sock Collector
For this layout I started with the Bazzil 'Sawdust' cardstock as a base. I mixed up the papers from both kits to layer behind the photo. The banner at the top of the page was made using the fabric from the main kit then doodled around. The other banner was taken from the lite kit, I've layered some more fabric over the top of the felt pieces.

What quirks make up you? Do you have a different collection or something really random that you love. Why not make a page about it. It doesn't have to be about you it could also be in an interview form with one for each member of your family. :)
Have fun!

x Leo

P.S look out for our guest designer Leila popping up this week. x

More from 'Love of Paper' and 'Paper Rainbows' Quirky Kits

Hi!

I've got more layouts to share today. I love the mix of fun bright and subtle tones in the kits this month so I thought I'd try and make some layouts keeping to the bright side and then going to the more subtle side. These bright papers said to me party/ fun so I picked out some fun photos of a little birthday tea party.

I started with the Amy Tangerine paper using the bright zigzag side and added strips of the Echo Park paper along the bottom and top edges. I used the cut off strip from the Amy Tangerine paper as a decorative strip stitched to the top of the page, I thought it was too pretty to throw away! I've used more of the fabric tape I made for the other layout, (see post bellow from yesterday).
I made two rectangles of paper, one the Crate Paper with the bright red/pink dots side and the lovely deep red Pebbles paper for the photos to layer over. The strip of calico I had a go at making pink using Cosmic Shimmer mist. There's a little bit of pink in the photos so I wanted to introduce a pink to the layout. The plain calico is perfect to add your own spray mists to. I also kept a piece plain because I really liked the texture. The chipboard stars I covered with turquoise glitter to match the turquoise lace. They do match in real life, the photo is making it look navy but it's defo bright turquoise ;-)
While I was playing I found out the paper bag from the main kit makes a perfect pocket for the tag from the lite kit so I used it like a pocket and put the journalling on the tag.


Now from bright to a more subtle layout. The subtle side of the kits lent themselves really well to a vintage photo of my grandma I had on my desk so I grabbed that and got to work.


All the papers I've used here are from the Lite kit. I added a little bit of the denim fabric from the main kit and a vintage label and kraft tag from my stash. The butterfly is from the 'Downtown Tea Party' kit from last year. Because the photo was small and subtle I really didn't want to add much to this page to take away from it. I used the Crate Paper with the subtle chevron pattern as the background. The pink paper is the opposite side to that, it's a strip that I cut off to make the page size, (8.5x11). I used a strip of the American Crafts grey toned paper along the bottom. It just helped to make the middle bit of the layout not so 'floaty', same with the little tag at the top of the page. I've used some of the Crate Paper border stickers as layers too. The shape for the title was cut out using a Nestabilities die, (labels 1).

After that I decided to mix up the two looks so I've mixed up the subtle tones and the bright tones on one layout.

It's going to be the opposite page to the cake page so I started with echoing the same chevron paper strips at the top and bottom of the page. The middle of the page is made up from the different off cuts I had left from making the other layouts. I used the border stickers for layering again and one of the narrow ones for underlining the title. The paper flower from my stash I coloured with the same Cosmic Shimmer pink mist to again pick up on the colour on the calico from the first layout. The same with the little dots of glitter. (I saw the glitter dots on Shimelles layout in the UK Scrappers class and really wanted to have a go at glittery splatters!). Under the flower is a piece from the felt garland I cut off to use as a layer. The photo here isn't just one photo I used more underneath it that pull out. This is really simple to do just using strips of washi tape.


Put two photos together then fix the two sides together with a strip of washi tape or masking tape.


Glue more photos over the backs of each photo you use but remember to keep one side the photo back so you can glue this side to your layout.


For the pulls I used some of the border stickers sticking them back to back over the edge of the photo.


Then added the alphabet stickers and a little bit of stitching.

I Concertina folded the whole thing up and glued the original photo on top so it lifts up:


Then pulls out to reveal the other photos.


I know interactive pages can be tricky in albums but I love 'touchy feely' pages. When they go in my albums I tend to just use cardstock pages glued to the front of the page protector as they're protected well enough with the page protected pages either side of it. You could also just add a layer of velum over the page or cut the front off the page protector so you can peel back the front of it to get to the interactive bits. :)

I'll be back soon with some card ideas to share.
xx Leo