
Today I've put together a project idea using goodies from the Quirky Kit main 'Golden Moments' and the embellishment kit 'Shine out Loud'.
Now I'm not really a Project Life scrapper but I do like to mix my page styles and this year while I've been experimenting with the 9"x12" album size for my everyday album I've found myself making more and more pocket pages. But because I'm never really 100% traditional with anything scrappy my brain tends to think naturally of ways to break out of those little pockets or 'boxes'. I've also been really inspired by autumn, you can't fail to want to go out and crunch some leaves and take photos of all the colours it's so lovely outside in the UK right now, (well when the fog shifts enough to actually allow us to see anyhow!) I wanted to capture all this on a page. I also had this lovely layout in my head that is just one of those layouts for me that makes me want to sit down and scrapbook! So putting all the ideas floating around together here's what I ended up making:

The base is a Project Life page design F page protector cut down to 9", (cut the last row of pockets off). This is both sides the front above and the back bellow.

I started off with the leaf embellishments that were cut from the Kaisercraft 'Gleam' patterned paper using a Silhouette cutting machine. I also made some circles making use of all the spaces between the leaves. The leaf shapes I found on google images, (looking for leaf stencils) and just traced them. You could just as easily hand cut some leaf shapes out, I'm just really lazy!

To start building the page I picked out one of the Everyday Edition Specialty Project Life cards from the embellishment kit. I went with a 6x4 one so I could have the same design on both sides. To get this I cut the card in half to make two 3x4 cards and then rounded the cut corners to make two separate cards. I glued them together back to back then put it inside the middle pocket.

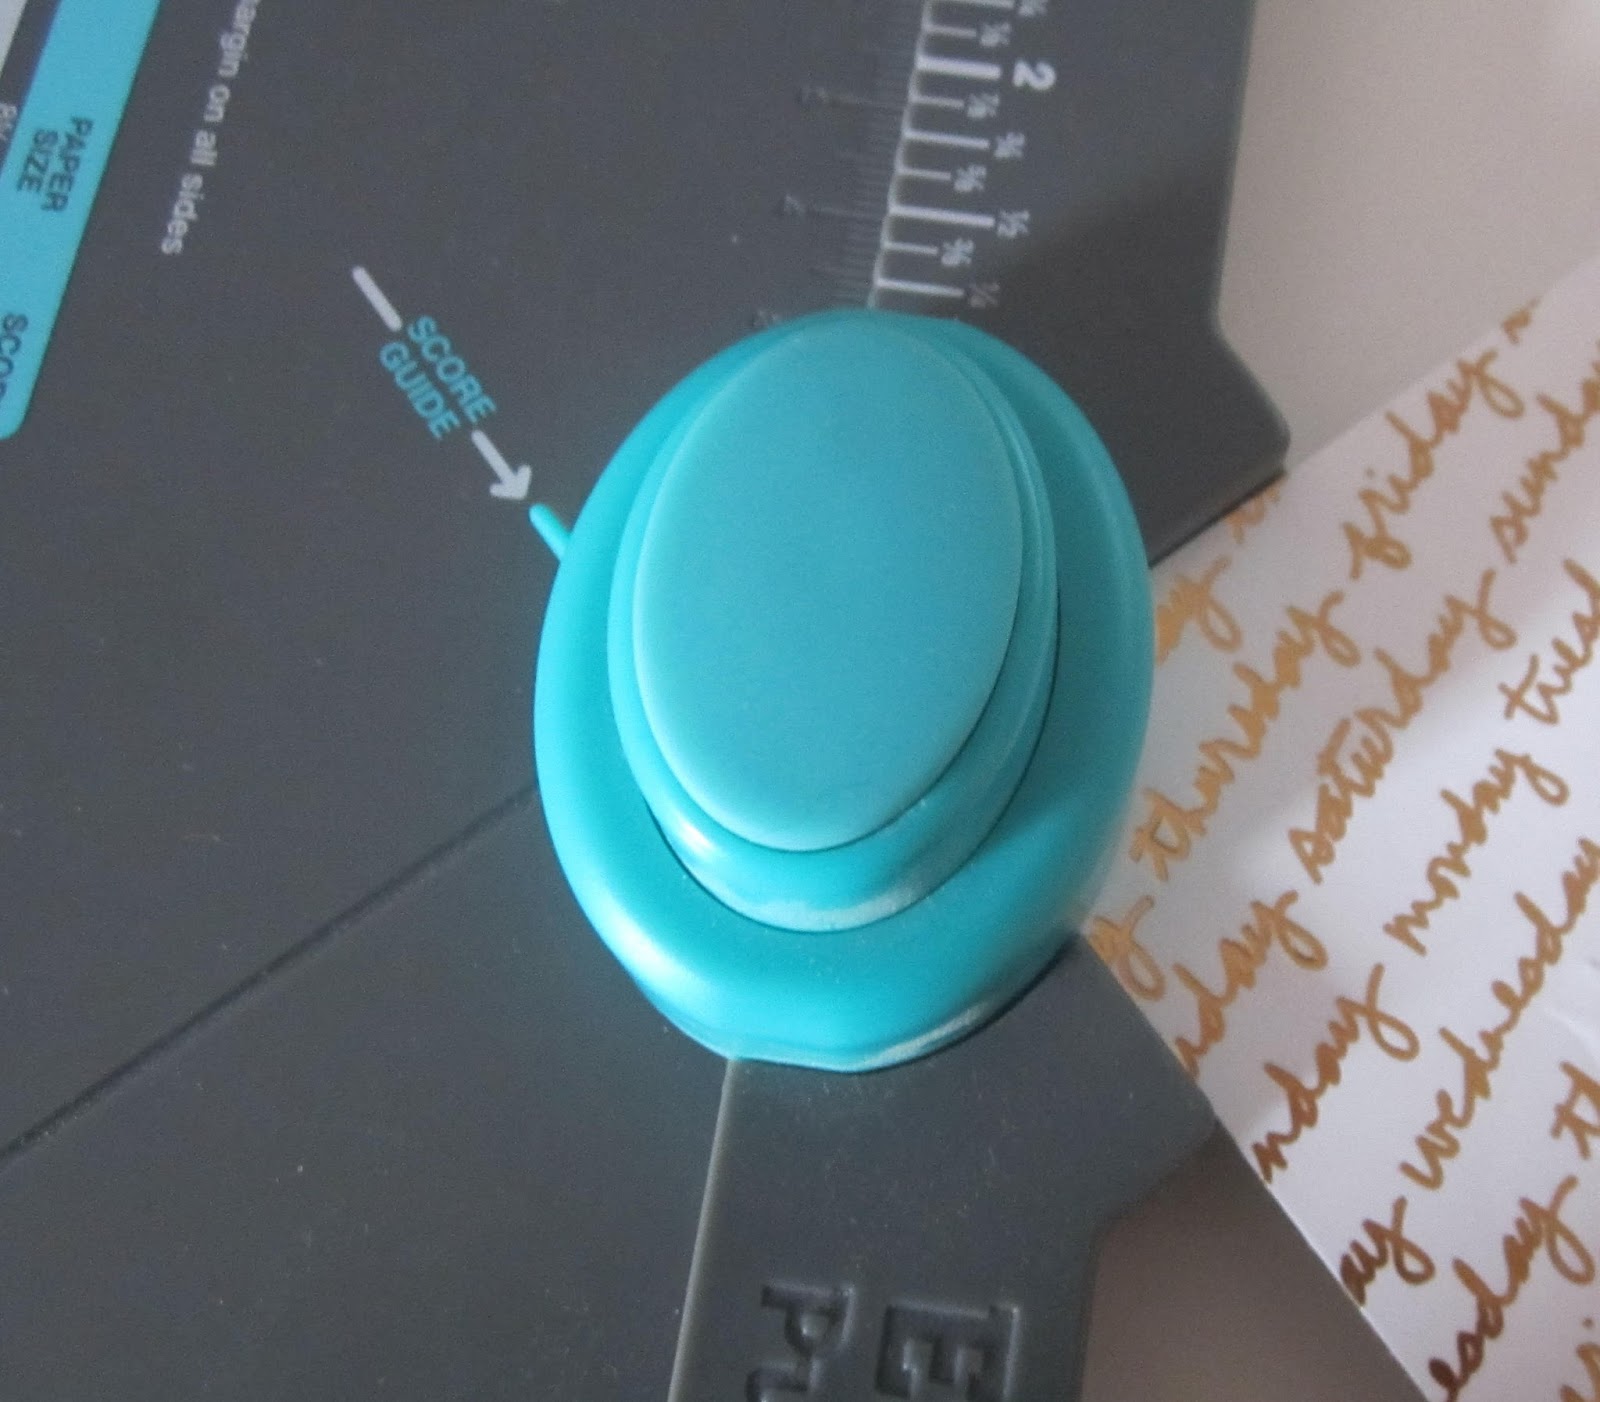
I use my We R Memory Keepers Envelope Punch Board to round the corners on Project Life cards because it's exactly the same size of corner as the ready made cards and it's something I already have in my stash. I will show a different way later too.
Next, I filled the middle row of pockets, either side of the card on the page protector with the paper circles:

The to 'break out of the box' I've layered the leaf cut outs right over the top of the pockets. I went for a randomness with them to reflect fallen autumn leaves. I used my sewing machine to fix them in place and to also seal the circles of paper inside the pockets. There's some extra glue too just to hold everything in place.


From there it was just a case of filling in the rest of the pockets using a mix of my photos and more of the Project Life cards from the embellishment kit.
Here's another way to make your patterned paper match your Project Life cards too.
Just cut a piece of patterned paper to 3x4 inches. Stick a Project Life card over the top, (use removable tape if you want to take it off again) then trim around the edge with scissors. Easy as pie way of customising a card and/or making your own cards from patterned paper.

You can customise with stamps too. My trusty old date stamp made an appearance adding the date stamp to the 'Today' card.
I used a rolling alphabet stamp to add some text to the 'fave' card. These cards are all from the same pack in the Quirky Embellishment kit the 'Everyday Edition' specialty card pack. I also used some of the Simple Stories Bradz and MAMBI clear stickers from the embellishment kit on the back page of the spread to add some little extras. The labels were cut out from the Pink Paislee Memorandum 'labels' paper.

Hope this has inspired you to think 'out of the box' with pocket scrapbooking and given you some ideas for using and mixing up your kits with your Project Life.
x Leo


