All the papers...

In the Simple Sketches supplement this time there's a sketch idea to use all the papers to create a background. When I'm putting together kits I'm all the time trying to find a balance between looking at what's trending, looking at what's new and looking at what could be mixed together to give all that a different twist while still all coordinating so you can pull out anything from your kit and it'll go together. So you can totally take advantage of that with your kit layouts and use a bit of everything!
Back to the sketch and the idea was to use all the papers in strips to build up a background.


I started off with one of the white cardstock sheets, which are perfect for doing this style of building up patterns on top of. I cut out the strips of papers all at two inches to start off with then some of them I trimmed down a bit thinner as I went along building up the background. To get the lengths of the strips I laid them out nicked a mark with my thumb nail, (rule of thumb ha!) and then used that mark to cut the length. 

I was following the sketch pretty closely for the position of the strips but you could do them more evenly if your brain eye is one that needs everything perfect. My brain eye is one that if it was equal but a bit off then it'd do my head in more so I needed to make them higgledy so that I'm not looking for any one bit that's 'off' it's all off so it doesn't matter! :)

At this stage none of this is stuck down, in fact this is the really quick photo I did to remind myself where everything is before it all gets moved off so I can add the sticky tape to the backs. I've started to add some of the embellishments here too. This is a top tip if you like playing around with your papers first then can't get them the same when it comes to sticking down, (used to do that loads before I this master brain wave!). OK so not that big of a brain wave but taking a quick snap to remind yourself does work to help you, (or maybe it's just me and my rubbish sieve brain!).


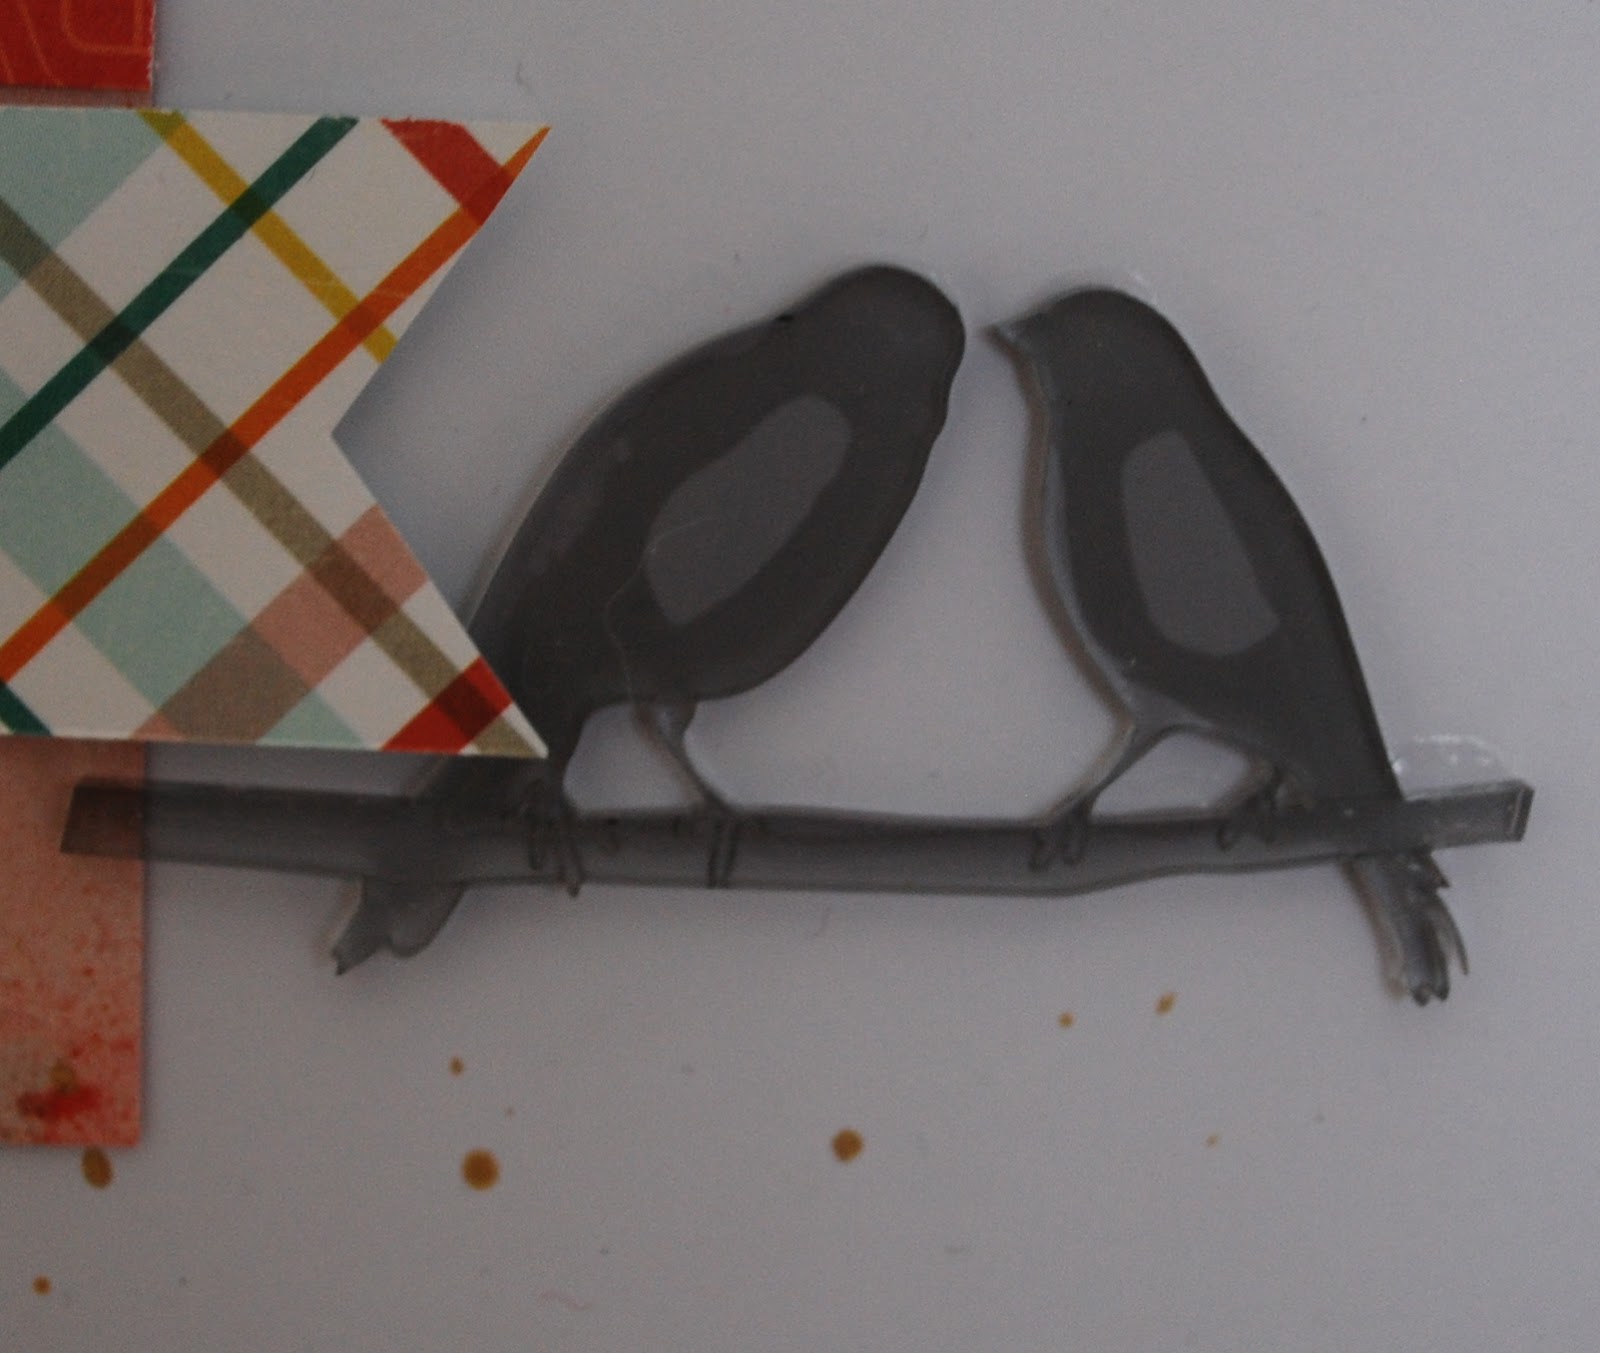
I did use some foam pads on some of the Simple Stories die-cut pieces just to give them a bit of something extra. I think it works because it gives them a natural shadow and it helps them to stand up against the papers.


Here's the finished layout all stuck down with more embellishments from the pack of Heidi Swapp puffy stickers. Everything used is from the Austen Quirky Kit Main.


 You know how I was talking about my eye brain earlier on? Well my eye brain is flaring up with the plaid paper bit at the top. I totally want to put that underneath the bottom of the photo area now looking at the full layout picture. A scrapbooker's work is never done!

xx Leo

Really?

I can't exactly tell which of the two possible titles for this layout is the real one. Is it "this was good!" or "really?"

That ambivalence kind of sums up how I felt about being so high in the sky
Originally the photos were going to be bigger but I am having printer issues which meant there was a big black line down them. Happily it meant they could fit inside this lovely frame from the Alcott embellishment kit

Aren't the colours of the papers just gorgeous? Its a bold move to put pink and red together but with the aqua to offset them, it really works. I chopped up my papers to roughly follow one of the sketches that came with the main kit. I couldn't quite work out how to place the Project life card but once I decided to add an exclamation mark to match the question mark I placed on the frame, I was able to slide it a little nearer the main paper section of the layout.

A little Heidi Swapp gold tab filled in some of the empty space that I don't like on layouts. I raided the puffy stickers from the main and embellishment kits to provide enough arrows and hearts. I thought this would be a good layout to add the birds to because, why not? (we didn't see any birds, I think we were too high up for them :) )
I wasn't sure how to adhere them and ended up using glossy accents. You can see where I didn't glue them, but it kinda looks like wings so I'm happy. If you don't want extra wings then make sure you cover the whole of the back with adhesive.

Journalling came almost last, but then I decided there just wasn't enough gold and out came my Heidi Swapp mist for a few splodges.

Happy Valentines

this month Leo sent me the fabulous Austen kit to play with. Work has been super busy and we are going away tomorrow to see our daughter for a few days so I've only been able to squeeze in time for one layout. And it has been a race against light to get it photographed. I'm not sure who won...
The beautiful My Minds Eye On trend 2 Elegant gold foiled patterned paper is probably not that easy to capture in any light. I love it so much I wanted to make it the main focus of the page, which meant that everything else fell together quickly. The page was also made speedy by the fact that I printed this photo at 5x7.
As today is Valentines Day I thought it only right that I made a layout that focusses on love...

I used the two Basic Grey papers as mats for the photo and also brought in the little green pattern from the printer strip. I cut three different sized hearts from the Doodlebug paper using a die with a stitched border and used those to being three embellishment clusters.
The top one has both the title and the journalling in it


I cut up three of the cut apart squares from the Simple Stories Life In Color 3x4 Journalling Card elements. One of them said "this is real life" so changed it to love. The red/white spots and the black/white stripes are from different squares. 

The bottom cluster has various elements from the Simple Stories Life in Color Ephemera die cut pack, layered together and raised up on foam dots
and the other has a Heidi Swapp puffy sticker and the month the photo was taken.


It all took about 30 minutes and is just beautiful in real life. Look at the foil
Just fabulous.

(I did add three little Maggie Holmes Shine gold dots as well)

I'm looking forward to seeing my daughter but it is hard going away with the kit all inspiring on my desk! I hope that you have had a happy love day and have a chance to create your heart out soon <3