New Kits for November/December Sneak Preview Number 2

Hi Leo here again!
So yesterday I shared a peek at the upcoming main and Lite kits head on over here: https://quirkykits.blogspot.com/2018/10/new-kits-for-novemberdecember-sneak.html if you've not seen those yet.
Today I have little peeks into the embellishment and Custom Card kits. Don't forget to head on over to the choice page to indicate your pick for your upcoming November/December kit choice, you can find that here: https://www.craftytemplates.com/november-december-kit-choice

Ok on to the peeks! Here's a little bit of the Christmas edition Quirky Kit Custom Card kit:


And a little bit of the November/December regular Custom Card kit:


The Custom Card kits don't have names as yet. When I complete the set the name usually jumps out at me.

The November/December embellishment kit is called 'Bring On Adventures'.

And finally the Christmas Edition embellishment kit 'Candy Cane Lane'.

xx Leo

New Kits for November/December Sneak Preview

Hi!

Leo here to bring you a peek of the upcoming kits for November/December 2018. As usual now with the November/December kit you can choose to receive a Christmas themed kit or not as your subscription kit. It's twice as much work for me with eight kits to design and curate instead of the usual four but I think it's a fairer way to choose a Christmas themed kit for those who want one rather than have everyone purchase a separate Christmas kit on top of the regular one. If you've not joined in before with the kit choice it's really simple all you need to do is head on over to the form page and tick the box to indicate your choice. If you've not made your choice yet head on over to the form page here: https://www.craftytemplates.com/november-december-kit-choice

OK, on to the sneaks. You can get a feel for the kit colours with these peeks but keep in mind the kits are still in production so lots of things are still to come and some of the papers are upcoming releases.


The Quirky Kit main Christmas edition - Merrily All The Way.
Traditional Christmas colours of red and green are given a contemporary twist with black, white and silvery grey. These colours are also reflected in the embellishments with more from Winterberry and the addition of whimsical Idea-Ology Christmas from Tim Holtz.


The Quirky Kit main for November/December - Calendar Year.
Fun and colourful with versatile but characterful patterns 'Calendar Year' is a fun mix of colours that reflect every season of the year. The general theme is everyday but also with a theme of home comforts running through.


The Quirky Kit Lite Christmas edition - Joyeux Noël.
The Christmas Lite kit has a fun airy feel with neutral backgrounds paired with lively patterns.


The Quirky Kit Lite for November/December 2018 - A Slice of Life.
With pretty A sides and neutral B sides there's something for everyone to document their own slice of life with this kit.

I'll pop back with a peek at the other four kits tomorrow so stay tuned!

Sunday Sketch Challenge - Sketch #2

Every Sunday look out for the Sunday Sketch challenges. They'll be a new sketch posted up for you to create a project from every Sunday. Complete all the Sunday Sketch challenges to be eligible for an extra goody in your next kit box!
Once you've finished your creation upload it to your platform of choice.
For Instagram tag @craftytemplates and mention it's for Sketch Sunday.
For Facebook add it to the Quirky Kits Group - they'll be a post for each sketch there with an album to add it to.
For blog add a link to your project from your blog in the comments below. 
Or if you'd prefer to keep your project private you can email them directly to Leonora@craftytemplates.com
 
Last week we had sketch #1 which you can head back to here if you didn't manage to complete that one yet. You can complete the sketches in any order. Once we get to the last one all the challenges will be open for one final week, (so it'll close on the 24th).
 
Ready to get creating?
If you've never used a sketch before all you need to do is follow the layout below as a starting point for the positioning of your page elements, (photo, title, papers etc.). What those elements are and how much you use them is entirely up to you though. You don't need to follow the same colours in the sketch.

Sketch Sunday Sketch #2


Sample layout for sketch #2

 
In the layout I've used the B side of the Vicki Boutin Field Notes 'Collect and Document' paper from the main kit plus two Cocoa Vanilla papers from the extras shop 'Sophisticated' and Moonlight'. I cut the middle bits out of the papers so even though it looks like full sheets stacked one on top of the other I wasn't going to let all that yummy paper go to waste! So the bits that were covered over with the subsequent lay I cut away from underneath to put to one side for another project.
I also used the Kaisercraft Misty Mountains ephemera from the Custom Card kit and the Cocoa Vanilla Midnight clear stickers from the extras shop. Some of the stickers I backed onto white cardstock and cut out to make them more like die cuts. I also used some as they were intended, to look like they're painted or stamped on the background. as a final touch I added some copper Nuvo Drops from my stash. The thread I used is a coral colour embroidery thread. I cut out a heart from a scrap of printer paper then used it like a template to punch holes with my needle about 1cm apart, (I use a big darning needle for sewing on layouts). I then used the thread as it comes, with all the strands intact and stitched along with a single running stitch.
 
Hope you're having fun with the sketch challenges!
xx Leo
 

Natalie - Wonderful together


 Hi everyone! 

I'm back today with my first layout using the gorgeous Sept/Oct Quirky Kits.

Supplies used:

Main Kit:

Pinkfresh Studio Indigo Hills 2 Meadow Paper
Pinkfresh Studio Indigo Hills 2 Puffy Stickers 
White cardstock

Extras Shop:

Cocoa Vanilla Studio Midnight Ephemera Pack
Cocoa Vanilla Studio Midnight Accessory Stickers
Cocoa Vanilla Studio Midnight Die Cut Titles 


 I started with this beautiful background paper from Pinkfresh Studio Indigo Hills 2 (luckily I bought 2 spares as the wreath on the other side is beautiful too). I decided I wanted the focus of my layout to be along the blurred line. 

The die cut phrases by Cocoa Vanilla Studio are a perfect colour match to the Indigo Hills 2 collection, so after picking the "together" word I went looking for an appropriate photo.

I used a frame from the ephemera pack to surround my square photo, after matting it with white cardstock. 


I then used several flower pieces from the ephemera pack to create clusters around my photo, using 3D foam tape to layer the flowers and the title at different levels. This really helped to add dimension to the layout, as all the embellishments were very paper based and flat.

I added the "wonderful" piece from the ephemera pack, as it matched the frame perfectly, and extends the title. Whilst the "Love you so" piece is from the sticker sheet. 


To each cluster I added a puffy heart (from the Indigo Hills 2 Puffy Stickers) and an enamel dot (from my own stash), which helped to add further dimension and interest compared to the paper embellishments.  To the top left of the frame I added a tab from the ephemera pack for further interest.


To finish my triangle of clusters I added a cluster to the top right. Again I added ephemera pieces, enamel dots and a puffy heart. I find a third cluster always helps to complete the layout. I used a grey pen to write my journalling, as black can be too harsh. 


I hope you like my layout and it inspires you to use your kit!

Natalie x

Love Grows Here | ScrappyNerdUK (Claire) | September/October 2018

Hey everyone....

So every other Tuesday I am live on the Quirky Kits Facebook group. I create a layout with the current kit (and maybe a few other little bits too) and this is all done live!! This is a great way to see how quick and easy it can be to bring a layout together in less than an hour.

And here is what I created....

So I started with the 2 gorgeous papers from the Pink Fresh Studios Indigo Hills 2 collection. I knew I wanted to cut the wreath out and layer this on top of the other paper. I decided to cut the middle out also and this wasn't as tricky as I thought it was going to be - so give it a try if you've been considering it!


I popped some adhesive foam under each of the leaves to give the wreath some dimension and to lift it off of the background paper.

Just how beautiful are those leaves on this paper.

I then centred a doily in the centre of the wreath to give some interest to the middle also. I added some double sided tape only to the bottom left side so this would be hidden underneath the photo. I top of this I layered my title which is a gold glitter Thickers title from the previous kit. This worked perfectly.


Next I needed to think about what embellishments I was going to include. It definitely didn't need much embellishment as the wreath was doing most of the hard work already.

I added in the little vase ephemera piece from the last kit and layered over a puffy sticker from the current main kit and this was all finished off with a couple of tiny word stickers from my own stash. I love how this little cluster turned out.

I then added some puffy hearts from the same collection (PFS Indigo Hills 2) from the main kit and placed these to the top left and bottom right of the layout along with a couple more tiny word stickers.

Finally it was finished off with enamel dots (again from my stash) and the layout came together all in about 40 minutes. (apart from some of the fussy cutting).

And here it is....


Stay tuned for lots more inspiration using this amazing kit!!

Until next time

Claire x


Sunday Sketch Challenge - Sketch #1

Every Sunday for the next 5 weeks they'll be a new sketch posted up for you to create a project from. Complete all the Sunday Sketch challenges to be eligible for an extra goody in your next kit box!
Once you've finished your creation upload it to your platform of choice.
For Instagram tag @craftytemplates and mention it's for Sketch Sunday.
For Facebook add it to the Quirky Kits Group - they'll be a post for each sketch there with an album to add it to.
For blog add a link to your project from your blog in the comments below. 
Or if you'd prefer to keep your project private you can email them directly to Leonora@craftytemplates.com
 
Ready to get creating?
If you've never used a sketch before all you need to do is follow the layout below as a starting point for the positioning of your page elements, (photo, title, papers etc.). What those elements are and how much you use them is entirely up to you though. You don't need to follow the same colours in the sketch.

Sketch Sunday Sketch #1


Layout sample - created using the Lite kit:


In the sample I've used three different papers, (two sides of one) in strips to build up the background then a final piece cut into a circle to add on top. I stretched out the title space a bit to accommodate the longer one I wanted to use. For the photo frame I cut out the middle of one of the journalling cards in the Shine On pack and used more of those die cuts to decorate the layout, the heart one next to the title I cut out from one of the plant shaped ones, (liked the pattern but not the plant for this page!). I've also added some doodling around them to tie them in with the frame ones. I've left the decorative strip on one of the papers to represent the border running down the side on the sketch. As a final finishing touch I added some dots of Nuvo drops to the dots/splashes already on the papers. I also edged the whole page in black ink.
 
 Don't forget to share your finished page somewhere I can find it.
xx Leo

Believe In You | Laura Rumble | Twilight Moon Kit


Hello, Laura here.  I’m so excited to be guest designing with the September/October kit.  It’s been a while since I received a kit and felt the buzz of opening a pizza box.  I certainly wasn’t disappointed!


For my first layout I’m using several of the Pink Fresh Studio patterned papers and Vicki Boutin Field Notes 'Collect and Document' patterned paper.  I had already cut into the papers as I had started a layout... the pile of papers that I wasn’t intending to use caught my eye.  Triangles sort of patched together.  I couldn’t ignore it so I put what I was working on to one side (you’ll see that in my next post) and played with the angular off cuts.

 
I pieced together some of the patterned papers.  I wanted an area of plain cardstock amongst all the pattern but the white from the kit wasn’t hitting the spot.  I added in a sheet of purple cardstock from my stash.  I didn’t have the exact shade of purple but with a sheet of vellum laid over the top it was a good enough match.  I trimmed down the purple/vellum so that the points of my triangle off cuts reached the edge.  To make the layout back up to a standard 12x12 size I added a border using another of the Pink Fresh papers.  Now I had the foundation of my page I moved over to my sewing machine and adding stitching to most of the joins; some in straight stitch, some zigzag, all in threads picked out to match the Pink Fresh Mesa patterned paper.  It struck me that the vellum would make a great shaker pocket so I mix some sequins from my stash to match and added them behind the vellum before sewing the last edge up.


I was torn between using a puffy sticker for my title or fussy cutting a foil title from Kaisercraft Misty Mountains rose gold foiled cardstock – the foil won because rose gold foil always wins in my book!  I added a few heart and leaf puffy stickers and decided it was done.


I will add my journalling in the peach triangle after photographing and sharing.
Thanks for looking!

Simple and Sweet 2 - Natalie

Hi everyone!

I am back with another layout using the Jul/Aug Quirky kits. 

Products used:

Main Kit:
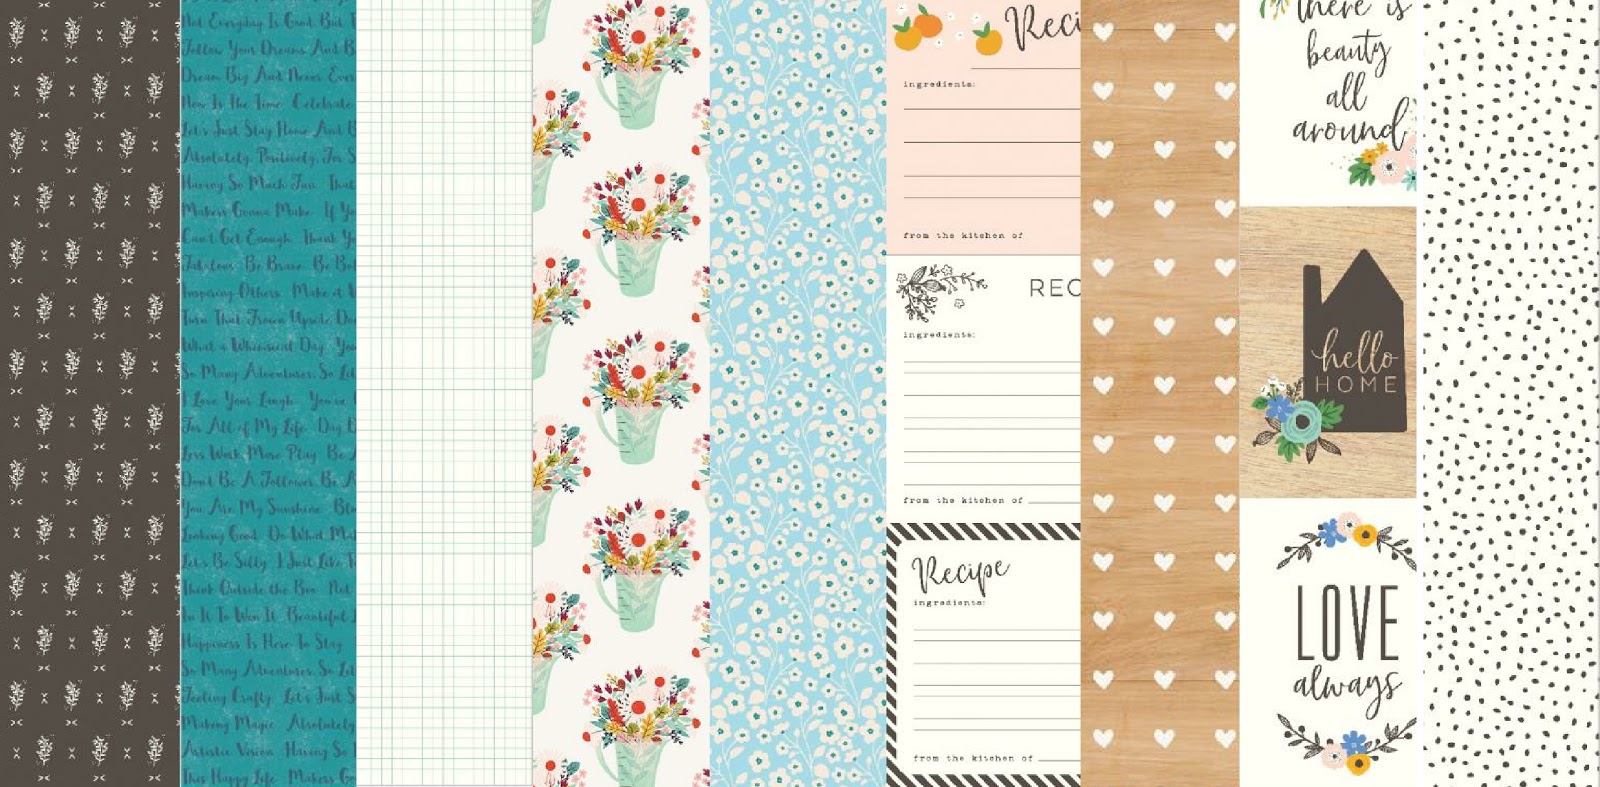
- PFS Simple and Sweet "Happy Life" Paper
- PFS Simple and Sweet "Good Company" Paper
- PFS Simple and Sweet "Sweet Life" Paper
- PFS Simple and Sweet Ephemera Pack

Embellishment Kit:
- PFS Simple and Sweet Puffy Stickers

Own Stash:
- Wood veneer
- Amy Tan Puffy Heart Stickers (These are in the Sept/Oct kit). 


I started off with the Happy Life paper, although this paper is busy I think it's lovely for a background!I printed 3 portrait photos sized 3x4 inches. I mounted them on a single sheet of white cardstock to help them stand out against the background. I then mounted this on the mint "Good Company" paper. 


To the bottom left corner of the photos I added my first cluster. The lemon, ice-cream and title piece are all from the ephemera pack. They're perfect as the photos are of us eating flower shaped ice creams in Malta. 


To the top left I added a further cluster, with flowers from the ephemera pack, which I placed to cover a lady's face behind me in the photo. I fussy cut many of the icons from the "Sweet Life" paper, including the "Everyday epic" banner. I also added a wood veneer tab and a pink puffy heart, this meant I had wood, pink, orange and yellow in each cluster, to draw the layout together.


I added foam pads under the photos, leaving a 3x4 inch area clear so I could add an extra photo underneath, which you can pull out using the wooden tab. This allowed me to add a lower quality photo, which is also horizontal so wouldn't have fit into the design of the layout. 


Finally in the bottom left I added a final cluster. The frame was fussy cut from the "Sweet Life" paper, and I added the word sweet from the puffy stickers, the lemon from the ephemera pack and again a puffy heart and wood veneer from my stash. Making a triangle of 3 clusters across the page.


I hope you like my layout and are enjoying the new kits!

Natalie

New Kits

It's new kit time!
The new kits for September/October 2018 are 'Twilight Moon', (main kit) As the Dusk Settles, (Lite kit) Collecting Moments, (embellishment kit) and Folklore, (Custom Card kit).

 
Folklore


Collecting Moments

 
As the Dusk Settles


Twilight Moon

 
 Layout created using the main kit:

Layout created using the lite kit:
 
Look out for more inspiration from the design team popping up here over the next seven weeks. This new kit time we have guest designer Laura Rumble joining us to share some layout inspiration.
Plus the new sketch challenge starts this coming Sunday and continues for the following four Sundays. If you complete all the sketch challenges you'll get an extra goody in your next kit box! Don't forget you can choose to have a Christmas themed kit as your next subscription kit too. The link for the form to indicate your preference is here: https://www.craftytemplates.com/november-december-kit-choice

Happy new kit time! xx Leonora


Sunday Sketch Challenges

Starting next Sunday, for the next five Sundays they'll be a challenge sketch posted up, (same ones here and on the Facebook group so you can join in either place). If you complete all the challenges, (you can link them here or post them to Instagram tagging @craftytemplates or email them in) you'll receive an extra in your next kit box.
Look out for the first challenge next week!