
You can also have a go at creating your own Ombre effects to decorate plain cardstock and embellishments to compliment the goodies in your kit.
I've played around with two techniques here one using Promarkers and one using the Kesi-Art colour ink mist from the Candy Floss Cart kit.
To start with here's an idea to decorate plain alphabet stickers or diecut lettering.
Start with collecting together your Promarkers and pick out a couple of pens one a dark hue and the other a light hue. Here I'm using some American Craft Thickers in white. These were in the Observations Quirky Kit so if you got that one you might have a few of these left over too. I've pulled out the word I wanted to use first but left it on the stickers sheet. If you accidentally get any ink or pen on the background it doesn't matter because it's on the backing sheet.

Start with the light colour and colour the lower half of the letters. I used the flat end of the markers as it's easier to blend with this side. Let it dry for a minute and then add just one layer over the rest of the letters.

Build up another layer over the top of the lower half again to make the colour deeper. Keep doing this making another layer half way up the letters.


Take the darker hue pen and add a layer at the very bottom of the letters then add a final layer of the lighter hue over the top to blend the colours together.

Here's the finished embellishment using the Promarkers:

You can also create the effect with the Kesi-Art colour ink mist in your kit. Paint on the ink as a light layer all over then let dry and build up a second layer of colour on the lower half of the letters. Let it dry again and then blend the two layers together across the middle of the letters with just a damp brush.


Here's the finished embellishment using the colour mist:

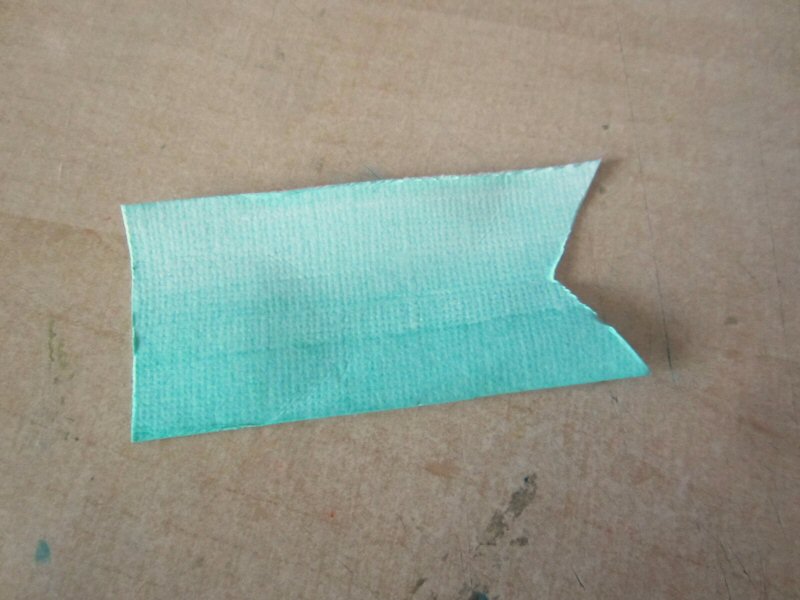
If you're working on cardstock or other porous card/paper start with a wet brush and dip it into your colour mist then paint on a stripe of dark colour. Follow it straight away with a second layer above it without re-dipping your brush. For the last layer dip your brush in just the water then add the final layer at the top and blend the other colours together with it. When it's dry if you need to go over the bottom layer again with ink to make it darker.

Here's the finished embellishment made from a scrap of the white Bazzill from the kits and the colour mist:
Finally a finished layout using the embellishments I've just made and goodies take from the 'Ice Cream Shop' Quirky Kit Lite:

This week Daring Cardmakers have an Ombre challenge and I used these techniques along with papers and embellishment from both the current kits to create my card:

Why not play along with the Daring Cardmakers this week and create your own ombre card using left over goodies from your kit?
Have fun!
x Leo
P.S I'll be back tomorrow with the first of the finished Project Life spreads using Quirky Kits and Quirky Kits Lite along with Project Life basics. x
No comments:
Post a Comment