Grateful

Hello everyone!
I am back with my 3rd layout using the March/April kit. This time I wanted to focus on the XO paper from Webster's Pages The Good Life collection called Hugs and Kisses.
When I saw this paper in the extra's store I knew I had to add another sheet to my basket  because it reminded me of noughts and crosses and that's exactly what I wanted to create. So here are the items I used and how I created my layout...

From the Main Kit
  • Pink Fresh Studio Be You - Ephemera Pack
  • Pink Fresh Studio Be You - Brave 12x12 patterned paper
  • Webster's Pages The Good Life - Hugs and Kisses 12x12 patterned paper
From the Lite Kit
  • Pink Fresh Studio Be You - True 12x12 patterned paper
  • Pink Fresh Studio Be You - Kind 12x12 patterned paper
From the Embellishment Kit
  • One Canoe Two Twilight - Wood Veneer embellishment pack
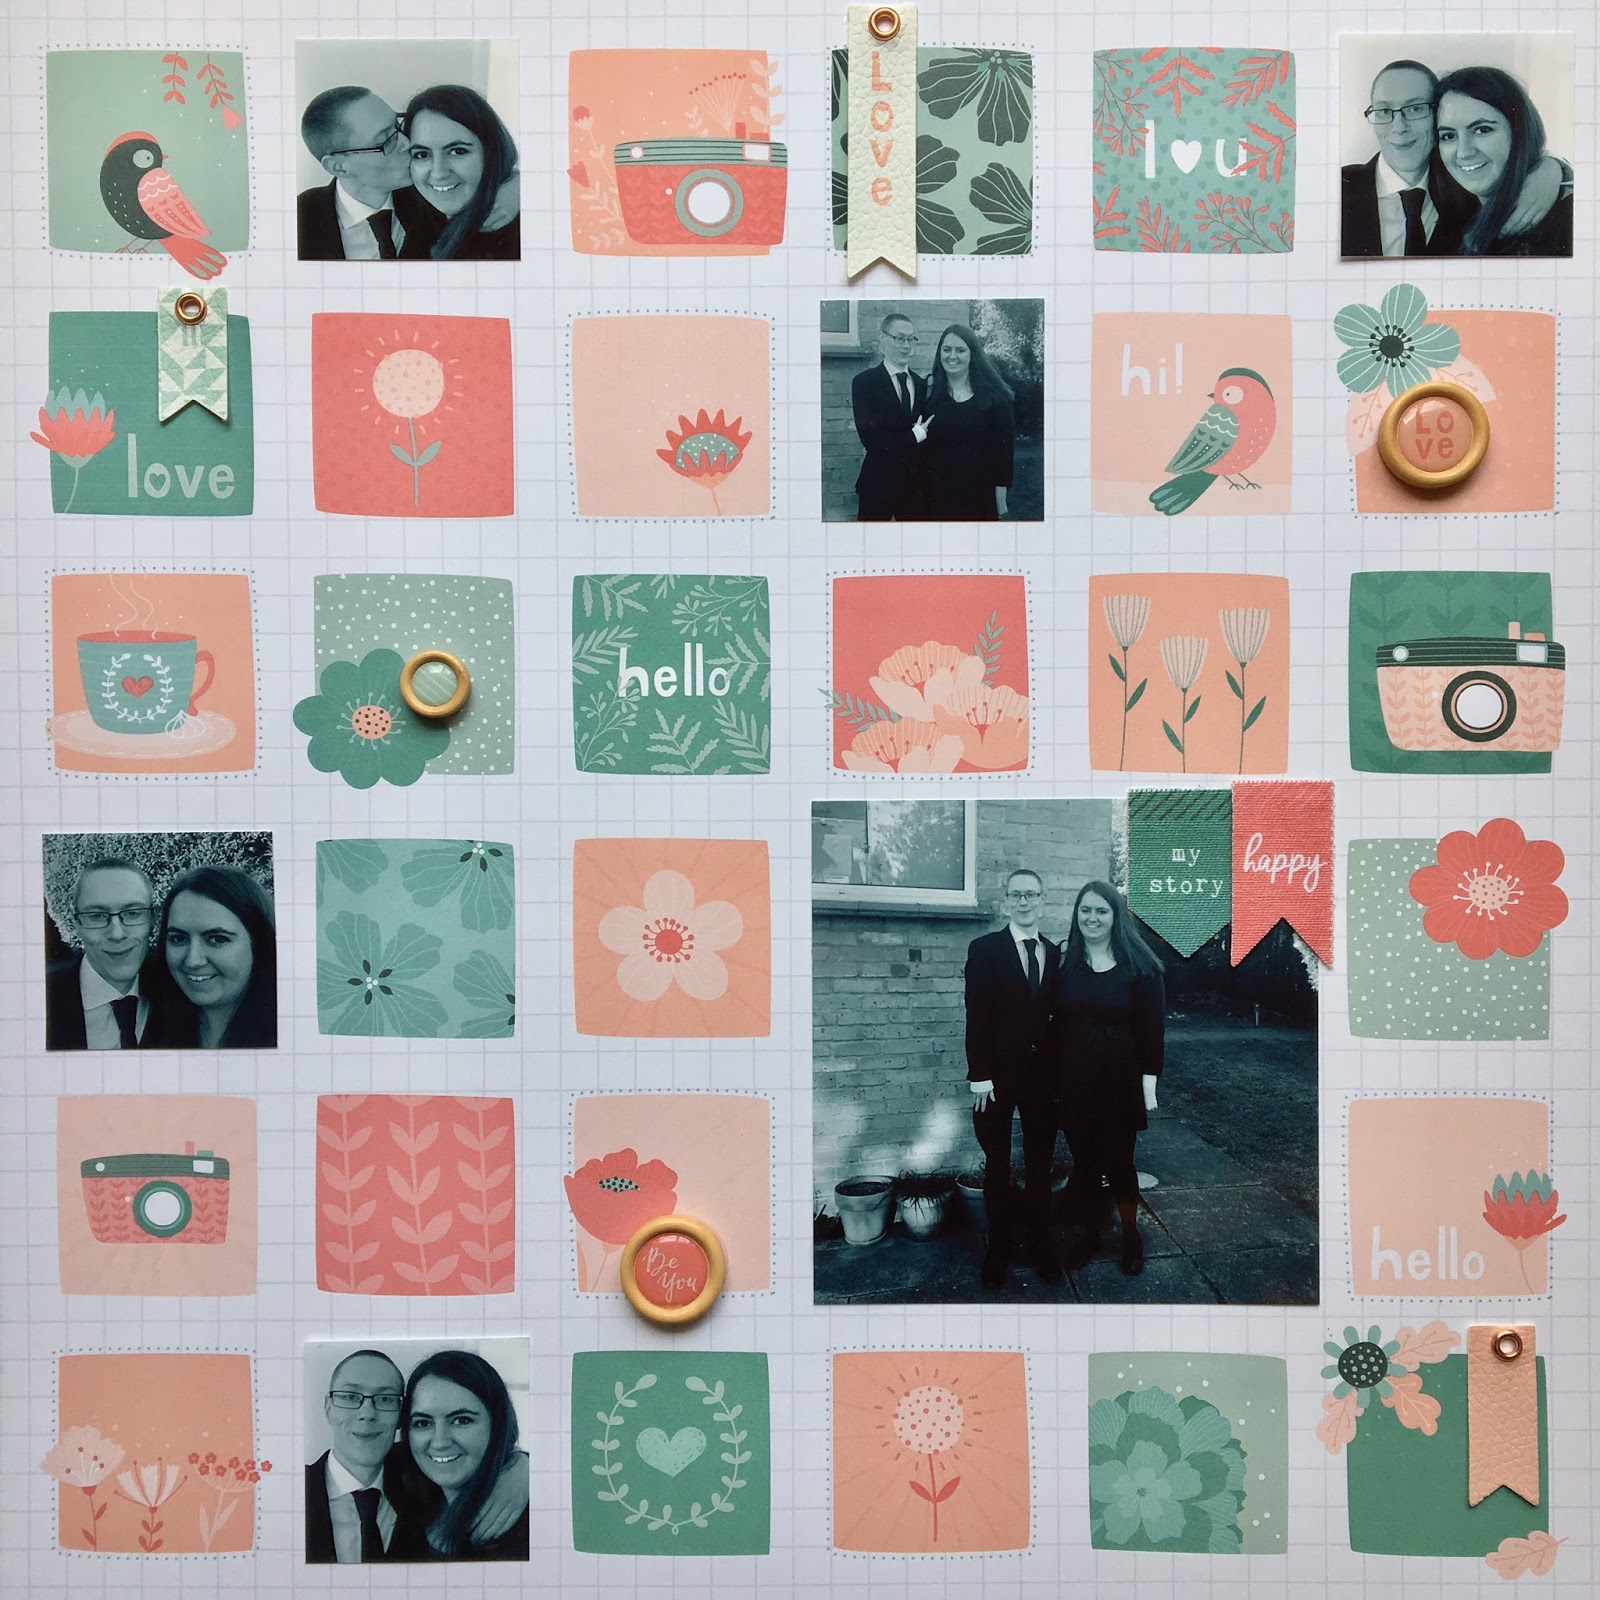
I started by gutting the middle out of the Webster's Pages XO paper as I wanted to save as much of that as possible for future layouts. That left me with a border which I adhered the B side of the PFS Be You Kind paper onto. 
I then cut half inch strips of the PFS Brave patterned paper (B-side) and adhered two vertically and two horizontally to form the noughts and crosses grid. 
From the XO paper I had gutted I cut out equal X's and O's and arranged them randomly in the grid squares, but making sure one of the rows was all X's.
I was then able to matt my photo onto the PFS True (B side) paper and mounted it with foam tape to make it stand out from my busy background.


Then came the embellishing. I used the mason jar and grateful wood veneers from the Twilight collection and placed a couple of pieces of ephemera behind it before I stuck it all down. Mason jar was also mounted on 3D foam tape.


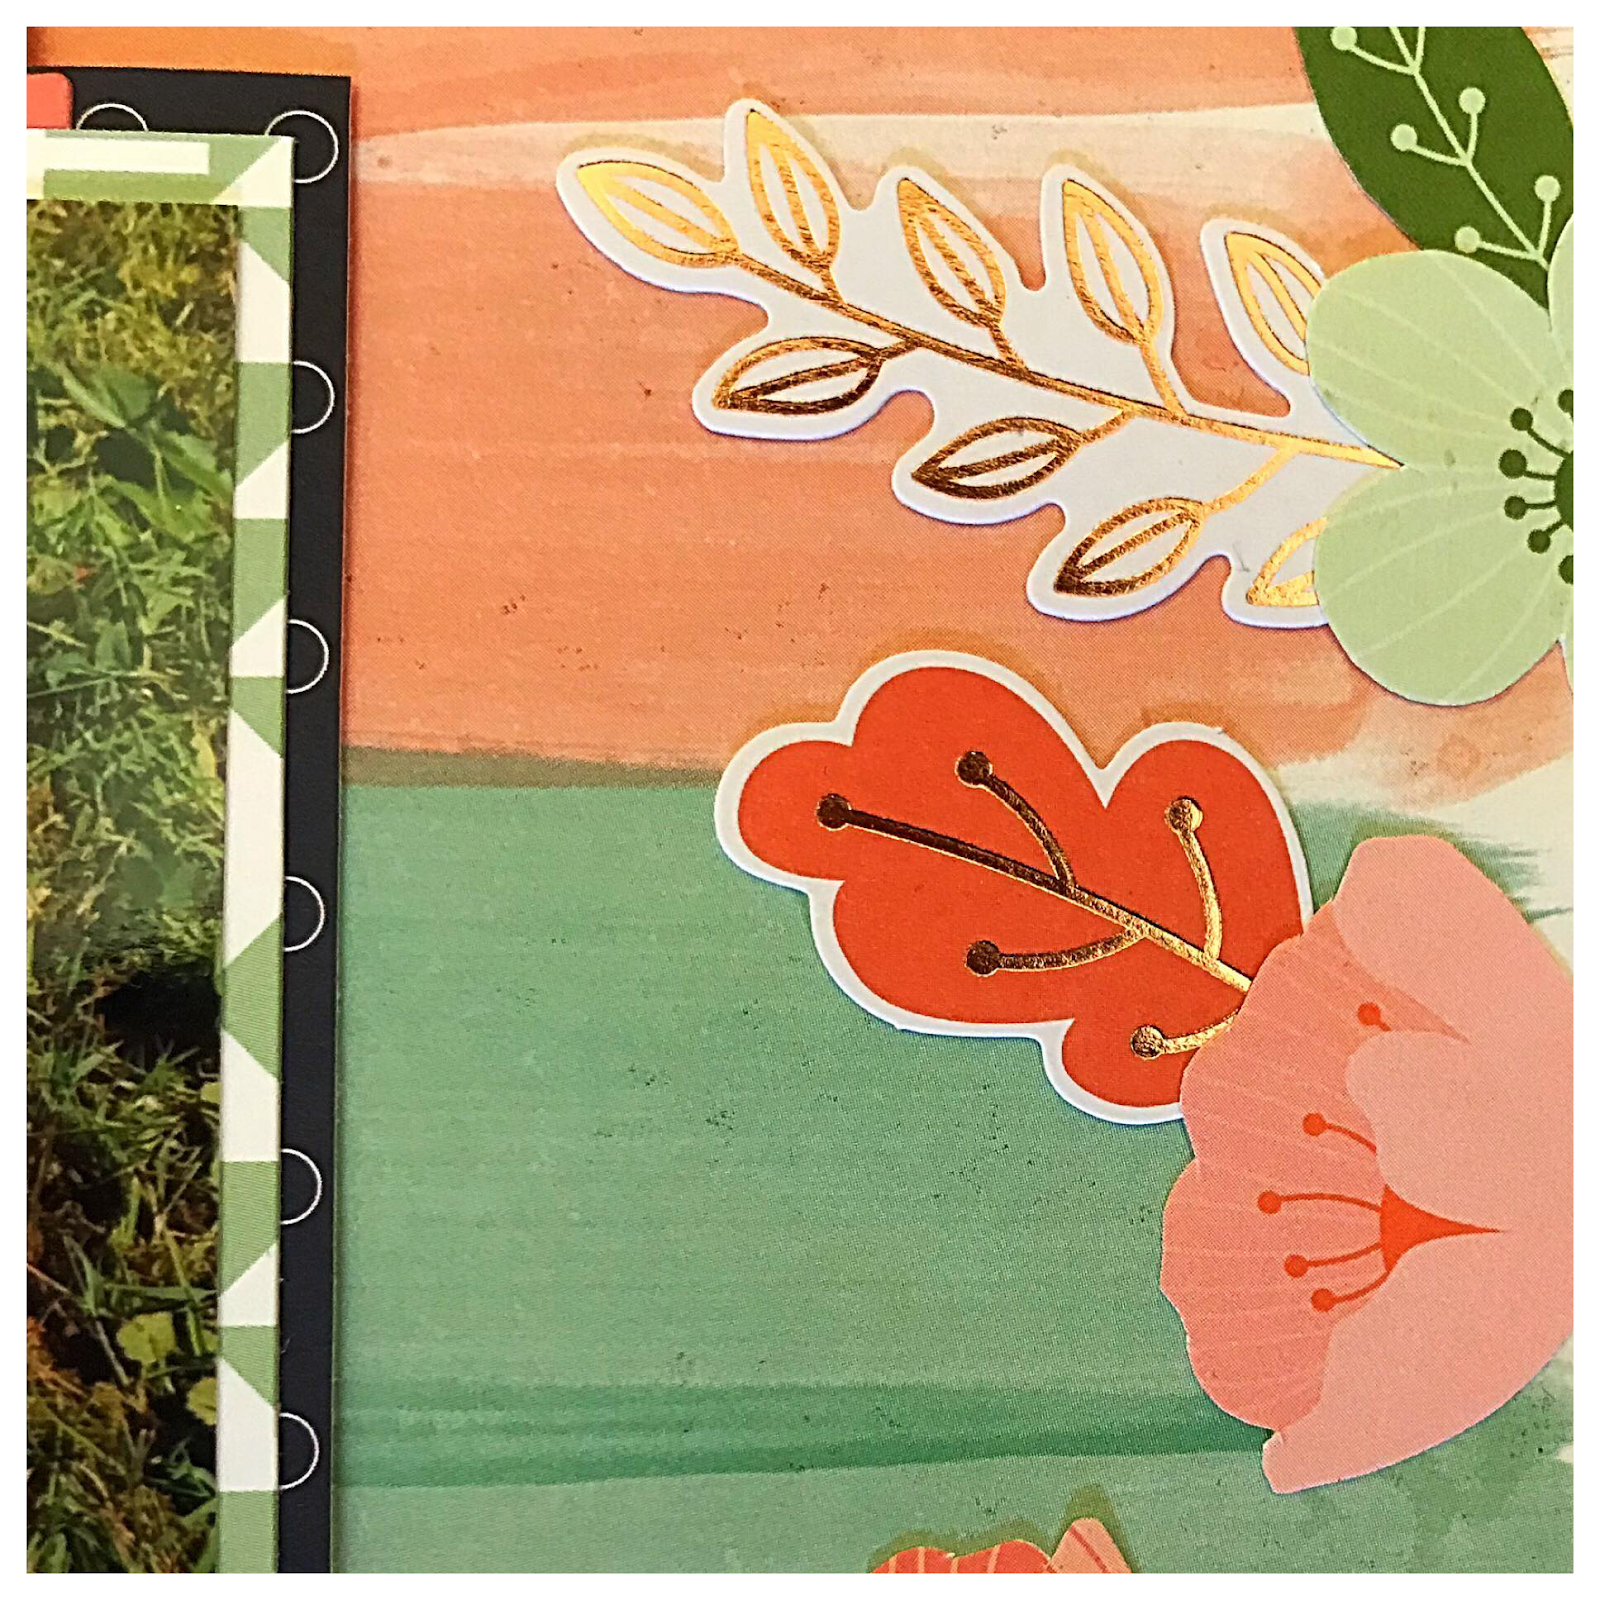
Using some more of the ephemera from the main kit, I placed a journaling spot on the middle left square along with a couple of leaves, which I felt complimented my photo really well. I finished off by placing three wood veneer acorns in a triangle format and another leaf in the top right hand corner to complete my layout.


Soaking up the Sun

Hello everyone I can't believe we are on our second week since receiving the kits...that's madness! I have already made 3 12x12 layouts plus a project life page focusing on using the stamps, and have just pulled my kit out to create a layout focusing on the project life cards, which I am going to use in a different way (I hope lol)

Anyway, I digress...here is my 2nd 12x12 layout I created, and what I used. Grab a cuppa and enjoy!

The Main Kit:
  • Pink Fresh Studio Be You - True 12x12 patterned paper
  • Pink Fresh Studio Be You - Die cut ephemera pack
  • Pink Fresh Studio Be You - Brave 12x12 patterned paper
The Lite Kit:
  • Pink Fresh Studio Be You - Real 12x12 patterned paper
  • Crate Paper Flourish - Kate 12x12 patterned paper
Extras: 
  • Pink Fresh Studio The Mix #2 - Grey puffy alphabet (from Jan/Feb Main Kit)
I started this layout by fussy cutting most of the (bigger parts) flowers from the Pink Fresh Real patterned paper. Once I had done this I started to lay them down on the Crate Paper Kate paper trying to re-create the frame as best as possible. Before I stuck them all down I opened up the PFS ephemera pack and added in some more of the floral pieces as well as some of the leaves, a little bird, a journaling spot and a little tab for the date. I adhered them all down and then set to work on my photograph.
For the layers on my photograph, I used the PFS True patterned paper and also some of the Brave paper. I'm one of these people who find it hard to do "messy" layers so they are a quarter inch wide and a half inch wide. I popped my photo on top and then mounted the whole piece on some 3D foam tape to make it stand out from the busy background I had going on.
I finished up by using the PFS In the Mix #2 Grey puffy alphas from the Jan/Feb main kit to form my title "Soaking up in the sun" and placed the date tab on the top right hand of my photo.
That's it! Very effective but easy. The most time consuming part being fussy cutting the flowers, but if you pop on some tv or Netflix lol you'll find you've finished in no time!
I hope you like my layout as always I had fun creating it. You can find all of my layouts including my quirky kit ones on my Instagram: instamemories86 and also on the Crafty Templates gallery on the main website... I will be back next week with my 3rd layout. Until then...happy scrapping!!


My Happy Story - Natalie - Mar/Apr Kit

Hello everyone I'm back with a super simple layout made with the Mar/ Apr Kit!

Supplies used:

Main Kit:
PFS Be You Mini Leatherette Flags and Fabric Tags

Lite Kit:
PFS Be You "Kind" 12x12 paper

Embellishment Kit:
PFS Be You Wood Epoxy Buttons


As you have probably noticed I love using busy papers for my backgrounds so when I saw this paper I knew I had to use it as my background.

I used 5 photos which are roughly 1.6x1.6 inches, and one photo which is roughly 4x4 inches. I used the Silhouette Design Studio to print out my photos (this is free to download and use even if you don't have a Silhouette).

This layout works perfectly for photos which aren't the best quality - the smaller photos were all taken on my iphone and the quality was terrible, but when I printed them out in black and white and at a smaller size they look great.

Using lots of small photos allowed me to cover my least favourite squares - such as the ones with teacups as I don't like tea! 


For my title I used two of the PFS fabric tags to spell out "My Happy Story". Placing the "happy" one slightly higher to make the title read correctly.

I used the mini leatherette flags and wood epoxy buttons to decorate the squares, mainly keeping similar colours together. 

When gluing down the flags and tags I used simple PVA glue and only glued on the top half, to allow them to have some movement and dimension.


So that is my layout - super quick and easy, but I think so effective! This photo shows just how much dimension the lovely wood buttons add! 

I don't make any layouts without the date on them but I can't find the right place to add the date on the front, so I will probably stamp it on the reverse.

I also always add journalling, but I know I'll be scrapping more photos from this event so I'll journal on those pages instead. Sometimes it's fun to just create a pretty page and not worry about the story telling!


I hope you like my layout!

Natalie x

Natalie - Blissful - March/ April

Hi everyone!

I'm back with my first layout using the gorgeous March/ April Quirky kits!

Supplies used:

Main Kit:
PFS Be You Ephemera Pack
PFS Be You - Brave Paper

Lite Kit:
PFS Be You - Real Paper 

Embellishment Kit:
PFS Be You Wood Epoxy Buttons

Previous Quirky Kits:
Dear Lizzy Stargazer Chipboard Titles

Own Stash:
Puffy flower stickers x3


For this layout I started off with the beautiful "Real" paper from the Lite Kit, I knew I wanted this as my background so I went searching for photos with pink flowers! I decided on these photos from my trip to Shanghai Disneyland in 2016, with the beautiful pink flowers in front of the castle.


In order to embellish around the edges of the page, I used pieces from the ephemera pack, such as the lovely rose gold leaves. As I had a second piece of the "Real" paper I fussy cut some of the flowers and laid them on 3D foam pads to add some dimension. I placed some of the fussy cut flowers directly over the same flower on the paper, but some of the fussy cut flowers I used to cover up flowers on the paper that I didn't want. 

I also added some of the epoxy wooden buttons from the collection, these are rather thick and have a glue dot on the back, so I normally take the glue dot off to make them a little thinner, and just stick down with PVA glue.


I stuck my two photos together and matted them first on the reverse of the "Real" paper, which is a green gingham, and then onto the "Brave" paper. 


For my title I used a Dear Lizzy Stargazer chipboard title (from a previous Quirky Kit), as it matched the rose gold accents so well. 
I typed my journalling on the computer and trimmed them into thin strips, which I always love doing.


As you can see from this side shot, the layout has a lot of dimension which I love!


I hope this layout inspires you to use the floral paper too as a background! 

Natalie x

Blessed!

Hello everyone! It's new kit time again!! Woooooo!!!

I absolutely love new kit time, stalking the poor postie, lol. This time my kit arrived on the Thursday, which was perfect timing as I went to a 3 day/night crop this weekend. It was great fun and I managed to get 3 12x12 layouts completed as well as a Project Life style layout. The first of which I am uploading today is probably the simplest of all the layouts I created, but It took quite a while because of all the cutting involved.
So...without further ado, here is the first layout, what I used and how I created it...enjoy x

From the Main Kit:
  • PFS Be You - Brave 12x12 patterned paper
  • PFS A Case of the Blahs - Flawsome 12x12 patterned Paper
  • 1 Sheet 12x12 smooth white cardstock
From the Lite Kit:
  • PFS Be You - Kind 12x12 patterned paper
From the Embellishment Kit:
  • One Canoe Two - Twilight wood veneer embellishment pack
And here is the finished layout:
 I started this layout but cutting up all the square pictures from the PFS Kind patterned paper from the Lite Kit. Once I had done this I layered my photograph on both the PFS Brave and flawsome papers leaving an extra quarter inch top and side for the 1st and an extra half an inch for the bottom layer. I then adhered this to my 12x12 white, smooth cardstock.


I then decided that I wanted to lay the squares I'd cut out around it, trying to leave the same amount of space between each one (I hardly ever measure. I pretty much do everything by eye)

Once they were all laid down I mounted every other square on foam to give it some interesting 3D dimension.
The final adding touch was my title, which was the "blessed" word from the One Canoe Two Twilight wood embellishment pack from the embellishment kit.


That completes this layout. As I mentioned above, pretty simple but was a little time consuming with all the cutting.
I love the way it turned out and myself and my partner make really cute teddies...In my opinion anyway lol.

I'll be back later this week with my 2nd layout so be sure to look out for that!
Until then...Happy Scrapping!!!