
Leo here again today with another layout created with my Brusho experiments. I've been playing around with different ways to use the Brusho from the main kit and really liked some of the pieces that resulted from the experiments so I created this layout thinking up ways I could incorporate them.

I did take photos as I was experimenting so here's how I made the Brusho bits. The first bit is the piece I used behind the frame with the runs. I started by sprinkling the Brusho on to the edge of a piece of cardstock.

Then sprayed with lots of water and lifted it to make it run and create the drips.

Next I did the same with the yellow colour along the bottom edge:

For the other piece, which I used on the background of my layout. I used the sheet of plastic packaging again like the first layout but with this one I used both colours together and sprayed lightly with a little water then I used a paint brush to add more water. It was actually a water brush so I added lots of water then 'brushed across to make the pattern and dripped the water on by squeezing the water brush to make large water drops come out:

Once I'd finished activating the Brusho I pressed a piece of cardstock over it to make the 'print'. I had lots of Brusho still on the sheet so I flipped it back over and added more to it by pressing it on again around the edges. If you use this technique and your paper or card is curling leave it on the plastic sheet and spray the back with water so it's wet on both sides and it'll dry flatter than if you leave it wet on one side. I found it 'clung' to the plastic sheet too so it helped to keep it flat.

So that was a few days ago and after that I came up with a way to use the experiment pieces. First I cut out a frame. I made this using an octagon outline shape and tessellating it to make the pattern then cutting it out. It took an hour to cut out so I combined that with catch up t.v! lol

I picked out the Heidi Swapp ' Palm Beach' paper from the main kit, (everything apart from the sequins and acrylics is from the main kit) it's the one with the black/white stripes. I cut out strips of the paper along with strips of my drippy Brusho experiment pieces.

I then cut them into squareish sections and fit them over the back of the frame, cut off the corners then glued them down.

I alternated the paper and the Brusho sections.

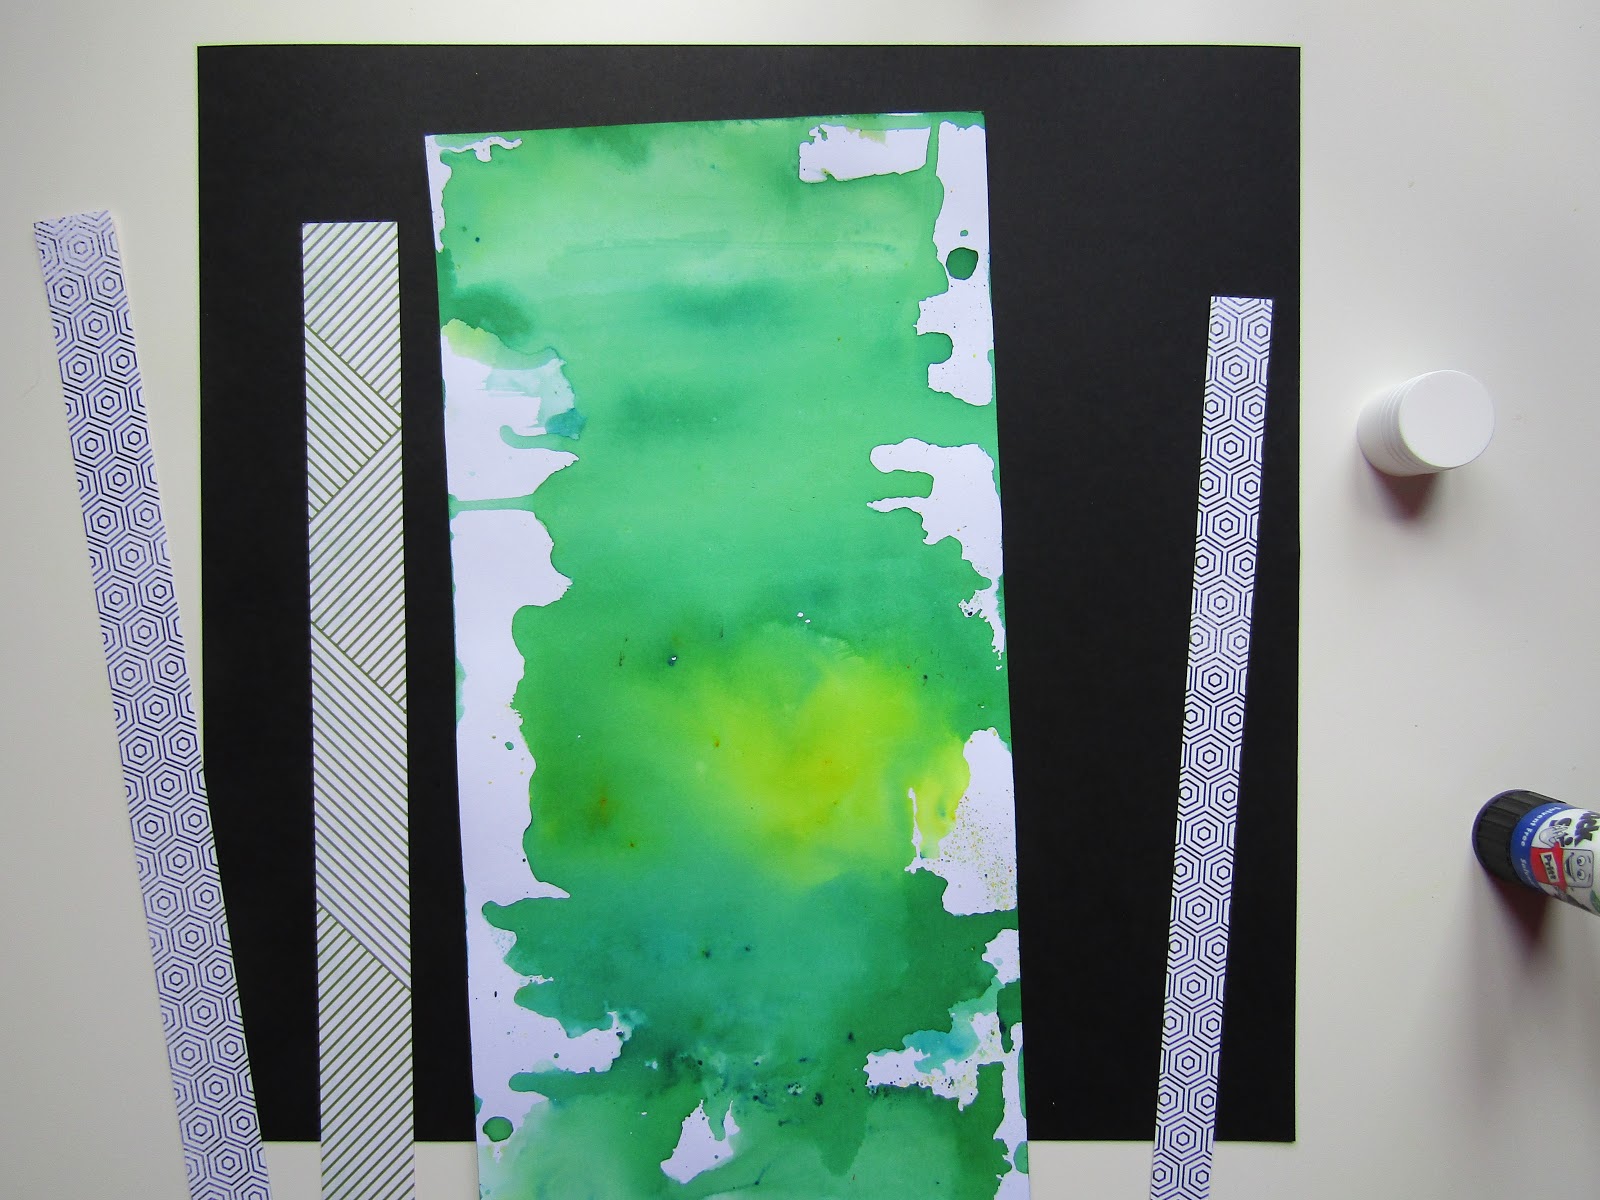
To build the layout background I started with a sheet of black cardstock and strips of the Heidi Swapp papers from the main kit along with the other of my Brusho painted sheets. Starting with the Brusho piece I glued them down so the paper strips were just tucked under the Brusho piece.


I added some stitching around the edge using my sewing machine.

Finally I glued down the octagon frame piece and then added my photo and a few of the Crate Paper Wild Heart stickers along with the acrylic pieces from the embellishment kit to make up my title.

The Pinkfresh Studio stitched stars I fixed to the layout using 3D foam pads.

So yeah, have an experiment with your Brusho even if you don't have a finished project in mind because you can always go back to pick out your favourites and use them afterwards or just cut out little bits you do like to use.
x Leo
No comments:
Post a Comment