More Simple Stories and NSD fun

I had to pack up my craft desk yesterday (I say pack up but to be honest I just cleared my desk and sorted things a bit  and will leave the rest to the packers) but before I did so I just had to sit down and do another 2 pages for my memories of Babbacombe Simple Stories binder.
I saw that one of the pockets had a tall thin strip and I knew that was perfect for the page that would have no photos
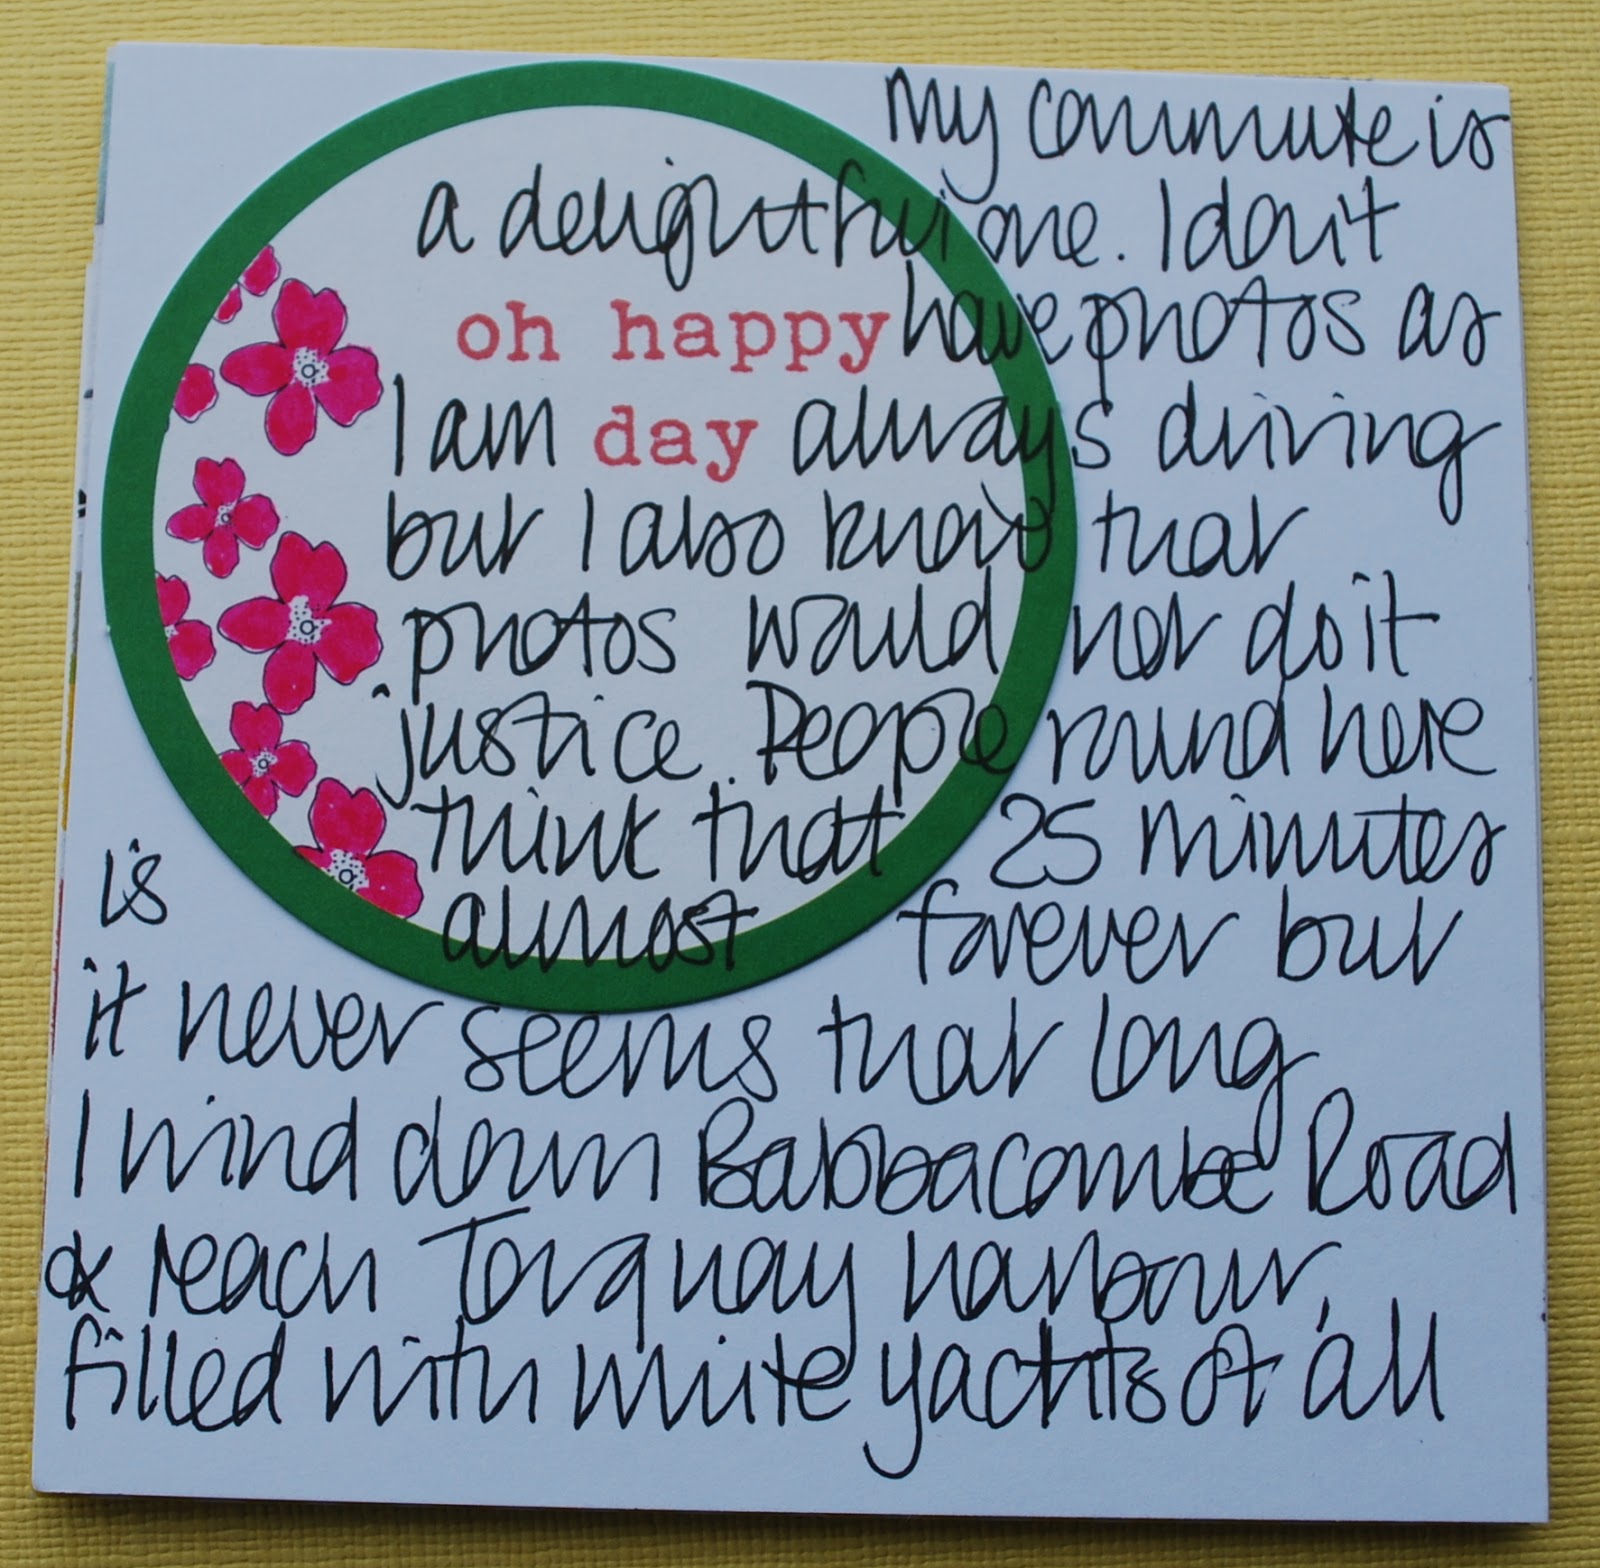
 I live opposite one of my places of work but the other is right across the other side of Torbay. It is a gorgeous drive and there are so many places where you can glimpse the sea. But most of the views you either can't park at to take photos or photos would not do them justice. I did think about going on a bus so that I could try and take photos but time is against me. So instead I described my journey. At the end I realised that I should have journalled the return as that is even better!

I knew there would be a lot of writing so wanted to keep the rest fairly plain. So I grabbed some die cuts and a strip of paper. I stuck a few bits  down and then spotted the "simple moments" tag which I thought would be great so added in some pink accents with a pink die cut and by colouring in the flowers on the green tag. There is a mix of red and pink but it works I think. I really like the way the cut in half circle works. The jelly tag is across the pages on the outside but as this is the back of the pocket it doesn't interfere with getting the pages in and out.


The front of the pocket is all about the weirdness that is our view. My part of town actually is round a different bay from Torbay and faces up the country rather than off to France. So on a good day you can see as far as Portland Bill. (And look at the sea in the photos, it is quite often this beautiful colour)

 I have just treated myself to these Mama Elephant Block Party letter stamps. Aren't they fab? I coloured them in with black biro scribbles and a Zig Clean Colour pen. I had measured the size of the pocket and then merrily cut my paper in the wrong place and so fixed it by adding some washi tape from the kit. It isn't as good to write on but never mind! I saw this little Pink Fresh die cut that I thought was perfect and as the paper is Pink Fresh too it meant the colours work well. The die cut behind it and the one on the top right are the same one cut in half.

Two very simple squares of paper given washi tape bottoms and die cut or washi word additions.
I again added something on the outside of the pocket, here you can see what the pocket page looks like without anything in it
I haven't caught up on here with my pages for National Scrapbook Day. Leo set some fabulous challenges. I only managed to do three but almost everything was either from the present kits or kits of the past!
Firstly the challenge to use at least 5 papers and 5 types of embellishment
 
 I do love it when a kit has the perfect colours for a photo! I think I am right in saying everything here is QK.
Then there was a 30 minute challenge. I think this took 28. Everything is QK apart from the black thickers. I do love that heart paper (I don't love the way my face looks Easyjet orange...)
 and finally we were challenged to use something that wasn't a stamp to stamp with. 
 I had totally misread the challenge and had already made the stencil background, which didn't leave much room for stamping! So I went for the random addition of butterflies which don't tie into the story at all. Never mind! I had some wooden butterflies on my desk so I covered them with ink and lay them down on the paper. As you can see I added the butterflies on as well. When all the butterflies were dry I gave them the liquid pearl dots treatment. Everything else is from Quirky Kits
My craft desk looks so sad with nothing on it. I am looking forward to unpacking and getting it all messy again!


Daily Life.

I hope you all have an amazing weekend planned, and if not I hope you enjoy whatever it brings. Since I have today off, before my weekend of work starts, I Thought I would share another layout I have made using the latest kit! 

For my layout I used, Amy Tangerine Better Together Peanut Butter and Jelly paper using the side with the cameras on as it's super adorable. I also used PinkFreshStudios Life Noted Puffy Sequin Stickers, Simple Stories Carpe Diem Chipboard Stickers, Fancy Pants Atwell Green Puffy Alphas, Fancy Pants Atwell Washi, PinkFreshStudio Cards and BAZZILL Basic Lemonade Cardstock. 

So from top to bottom, left to right, card by card I'll show you how I put my layout together.


My first card I I used a 4x4 photo and I matted that onto the BAZZILL Lemonade Cardstock, the using the Atwell Fancy Pants Chevron Washi I used a 3inch (roughly) strip and attached it onto the side of the photo. I finished off by using the Fancy Pants Green Puffy Alphabet to title the card 'Hamster Love' and I also used two Puffy Sequin Stickers from Pink Fresh Studios to embellish the right hand corner.


The next card I used a Pink Fresh Studios 3x4 card and cut and inch of the bottom to make a 3x3 card, I then matted it onto the Lemonade Cardstock and placed the remaining inch stuck into the side and secured it with the Chevron Washi. I embellished with the sequin puffy stickers and a heart chipboard piece from th Simple Stories Chipboard Embellishment Stickers. Last I used the alphas to write he word 'Always' - So this card reads ' Little Stories To Remember Always'.


These are 2 of 4 of the 3x4 cards that run along the middle of the layout. So again I matted the photo on the lemonade, which just brings all the photos together really, and decorated with puffy sequin stickers, alphas and again the simple stories chipboard stickers. 


And to follow the other 2 remaining pockets from the middle spread. On these set of pictures me and my lovely other half enjoyed our first ever bbq together in our garden, it was a really enjoyable day he weather stayed really warm, the neighbours came round and yep we didn't burn the food! Smiles all around.


This bottom left card is my pre birthday shopping trip!! To put this across I used the party theme pieces from the Simple Stories Chipboard Stickers and just used the Sequin Puffy Stickers dotted around to finish off. For the journaling I used the back of one of the Pink Fresh Studio Life Noted Cards that I wasn't going to use and journaled on the back.


The Last card on the bottom we used the burger meat and turned them into meatballs, and I can honestly say they were gorgeous! So i finished of with matting the picture onto the lemonade, sequin puffy stickers and the journaling again on the back of a journaling card.


Here is the final full photo of the layout, although I only used around 4 different items to 6 if you include the backing paper and baking Cardstock, I still think this layout turned out really well and I'm trying to spread out how much I use on layouts so one: it doesn't look over board and two: it means I get to use nice goodies on more projects.

MelanieJoanne ❤️

Something snappy!

Today I'm going to share with you how I decorated my clipboard using the the Quirky Kit Lite Kit. 

First of all you will need a chipboard clipboard as these are the more sturdier type. 

Next you will need to choose your desired 12x12 paper and Ephemera to decorate. 

Start of by covering the clipboard in double sided tape. 


Next leaving room at the bottom,so it covers the top nicely, stick the paper to the board.
I chose Pink Fresh Studios Life Noted Checkerboard from the Quirky Main Kit.

You will need to use a craft knife or scissors to cut the paper so the clip bit sticks out of the top.


Next flip the clipboard over and fold the paper over tightly securing it with double sided sticky tape.

Now the next bit may be a little fiddly! Stand the board up right and squish the card so it folds over and follows the curve of the corner of the clipboard. 


Turn it over and as you can you may need to tape the cardstock down using cello tape.

Flip the board back over to the front and where the excess card is under the clip, carefully cut with scissors or a craft knife to nicely finish it off.(mine isn't very neat but it does get covered up by embellishments anyway) 

Next repeat the paper laying process on the bottom part of the board with either a bold colour or another pattern, I choose some gold wrapping paper I had left over from Christmas.  


Last stage is to decorate so take out your ephemera or embellishments  have chosen to stick to the same kit so I used PFSLN (Pink Fresh Studios Life Noted) Rubber Charm Stickers, PFSLN Die Cuts and PFSLN Washi  Stickers.

And here is the finish result all ready to keep them special memorabilia safe.


MelanieJoanne ❤


Get Outlook for Android


telling simple stories 2

Here are some more of my small pages. I think I am beginning to get the hang of it now, and also am prepared to go with the flow of having to move the file around to see the various pages.
Exhibit A
 Lets have a closer look at that new page shall we?
 I loved the circles on the paper but needed to make it all smaller scale so I cut some of the circles out and stuck them on white cardstock. As ever, adding black lines always makes me feel better.
The journalling block uses the fab yellow washi tape and some letter stickers from an old Quirky Kit. I chopped some of the squares from the Pinkfresh Studio Life Noted ‘Checker board’paper and cut them up to go behind the small photos (and used the ampersand in front). Again I used the Pinkfresh Studio embellishments both on the photo and on top of the pocket

 OK so the dog isn't part of the scenery. But you can see she is an old girl and I'm not sure how she will cope with the move so I wanted to record this stage of her life.
I used the Fancy Pants Attwell Black and White Stripe puffy alphabet stickers for the title and the die cuts are Pinkfresh 
I love the yellow banner and so made sure there were plenty of other yellow accents on the page, including colouring in some of the arrows on the top left journalling card with a bright yellow zig pen. I've just ordered a yellow cardigan and I'm sure it is the crafting that has influenced me!

Hello April

So I've managed to catch up on my Project Life (up to this layout anyway, I'm now a couple of weeks behind) As mentioned in the last post there was soooo much with this kit Leo has for sure outdone herself! As well as a 12x12 layout I will be uploading next week I've got a few project life style layouts to share with you so sit back, grab a cuppa and have a read on how I created this latest layout using the March/April Quirky Kit.


The colours on this layout, to me, scream spring & happy and April was a really fun month for me. Here's how I created this layout.

Products Used:

  • Amy Tangerine Peanut Butter & Jelly 12x12 patterned cardstock (both sides)
  • 12x12 sheet of White Cardstock
  • 12x12 Bazzill Jetstream Cardstock
  • Simple Stories Carpe Diem Cardstock stickers
  • Simple Stories Carpe Diem Bits & Pieces
  • Pink Fresh Studio Felicity Die Cuts
  • Pink Fresh Studio Life Noted Rubber Charms
  • Pink Fresh Studio Felicity Puffy Sequin Stickers
  • Cut out sheet of Label Embellishments
  • Fancy Pants Attwell Black & White strip puffy alphabet stickers
  • Fancy Pants Attwell Aqua puffy alphabet stickers
  • Fancy Pants Attwell Yellow Chevron Washi Tape
  • Whisper Studio Co. Hot Pink Twine
  • Whisper Studio Co. Blue and Yellow bakers twine
  • Growing Flower Charm
Here's how it was created:
Firstly I picked the Amy Tan Peanut Butter and Jelly cardstock and used my guillotine to cut three 4x12 inch strips. One of the strips I placed aside for now. With the other two I cut them to make four 4x6 cards. These will be the base of the main windows. With the other strip I laid aside I cut that into four 4x3 cards and used the other side of the cardstock for a contrasting colour.

My Title Card
I used a small piece of the white cardstock to back my title so it stood out more using one of the carpe diem chipboard stickers which says hello and spelling APRIL out with the Fancy Pants Attwell back and white puffy alphas. As I associate April with showers and sunny spells I themed my card around the weather using the rain cloud and umbrella from the Carpe Diem chipboard stickers and the sun from the Carpe Diem bits and pieces. I ran a strip of the Attwell yellow chevron washi tape down the right side to bring in some more of that bright yellow. I finished this card off with the Pink Fresh Studio Felicity ephemera which fittingly said spring is in the air, and as Carpe Diem means Seize the moment I added that too.


2nd Card
On this card I started by matting my photo's which I'd created in my Pic Stitch App onto some of the Bazzill Jetstream cardstock to soften the busy camera background of the Peanut Butter and Jelly cardstock. For decoration I threaded the growing flower charm onto some of the Whisper Studio Co. Hot Pink twine and wraped it around the card adhering it to the back where no one would see it. In between my photo's I used one of the Pink Fresh Studio Life Noted rubber charm stickers which says smile. I backed the PFS Felicity life in pictures tag onto one of the woodgrain cut out Labels Leo included in the kit and finished this layout off with two green puffy sequin from the PFS Felicty collection, one either side of the label.


Cards 3 & 4
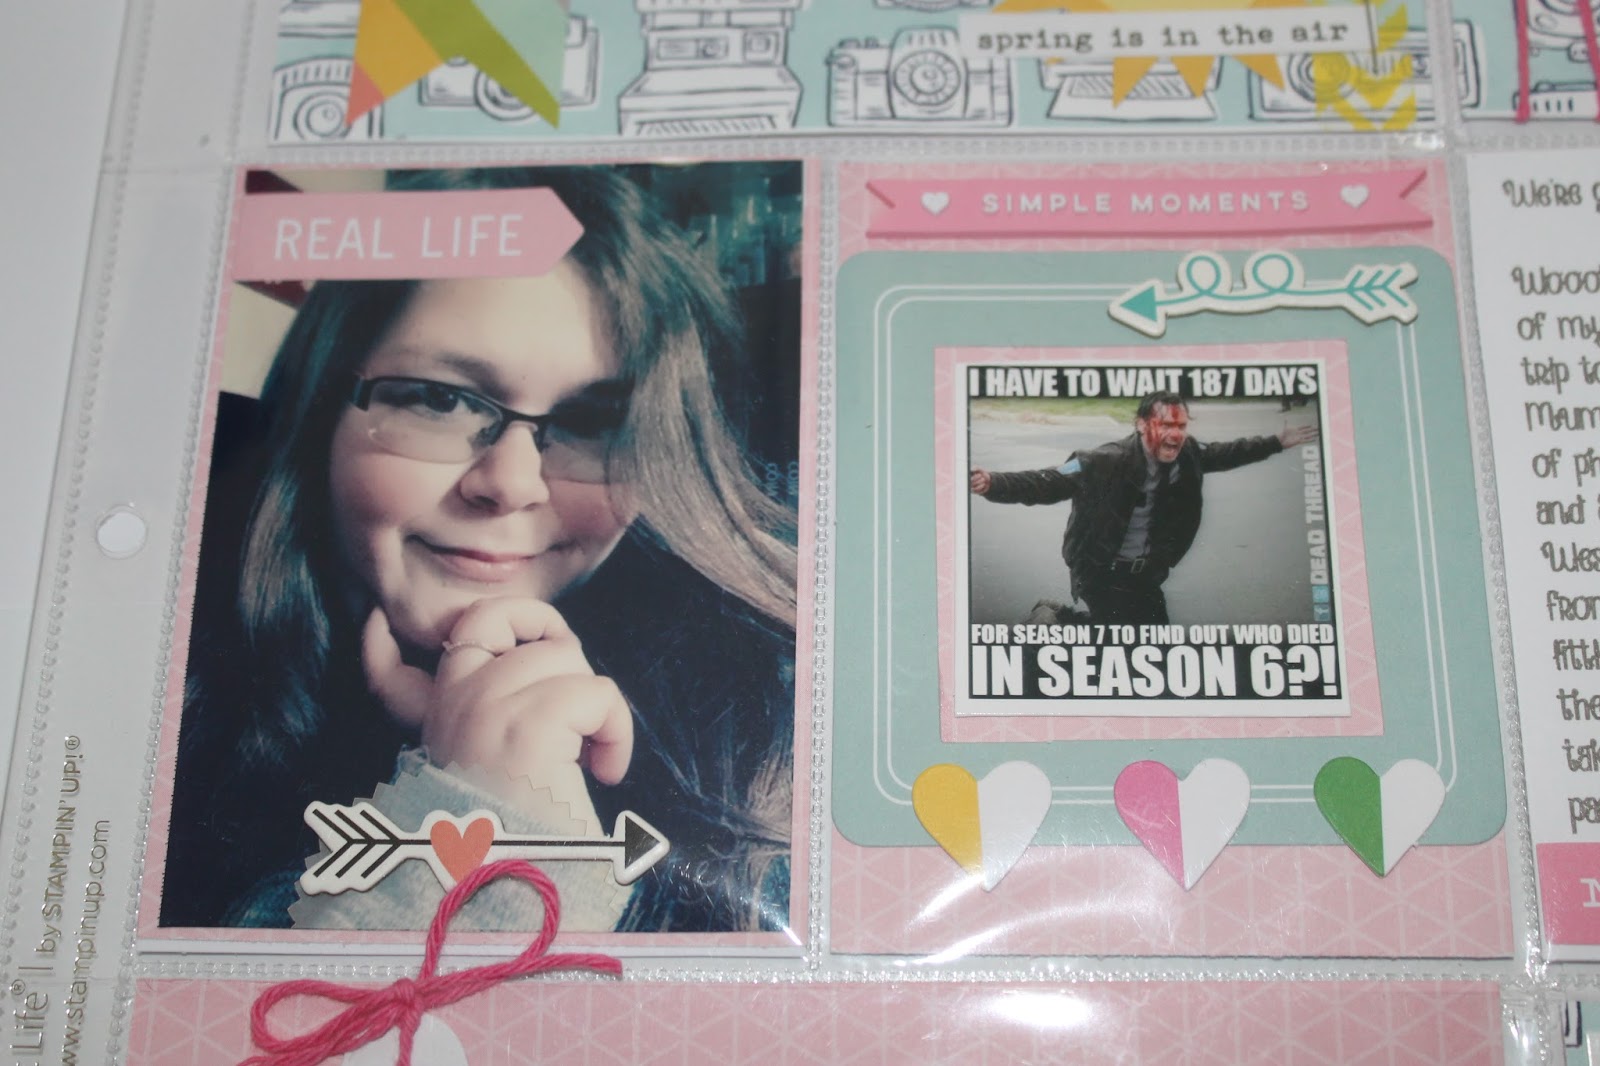
For these two cards I didn't use many embellishments. The left card I just added the heart arrow ephemera and the Real Life tag from the Carpe Diem Bit's and Pieces collection.
The card on the right I used the frame from the PFS Felicity die cuts to frame my picture along with the 3 hearts I adhered to the bottom of it and the funky loopy arrow is from the Simple Stories Carpe Diem cardstock stickers. (Any one here watch The Walking Dead and screamed NOOOO when season 6 ended on such a cliffhanger?? I know I did and as the picture says 187 days to wait! Roll on October!)


Cards 5&6
Again not much embellishment on these two as I didn't feel they needed it. The left card I wrote up my journalling on my Silhouette Studio design software on my laptop and used one of the sketch pens instead of the blade to write. (This is a really funky technique and if anyone would like me to share with them via email how I do it please feel free to get in touch with me) I am preferring the look of typed cards to my own hand writing at the moment as I feel it looks more professional. For decorations, on both cards I used one of the sentiment labels from the Simple Stories Carpe Diem Bits & Pieces and one of the PFS Felicity die cuts.


Card 7
I can't remember if I intentionally chose the B side of the Peanut butter & jelly cardstock for this card or not, I like the outcome regardless. I matted my photo onto some white cardstock to make it pop and used the Fancy Pants Attwell black and white stripe puffy alphas to spell out my #nails title (I love painting my nails) I wrote a small piece of journalling on one of the tags that came with the PFS Felicity die cuts and used the pink heart from the same collection. I then used the black and white arrow and the polka dot heart from the Carpe Diem bits and pieces and the Live Colourfully from the Carpe Diem cardstock stickers, finishing off with some of the PFS Felicity puffy sequins.


The last card
I once again matted my photo's on white cardstock and across the middle wrote BRIGHTON using the Fancy Pants Attwell aqua puffy alpha stickers (say that 3 times fast haha!) for embellishments I used the life piece and the dream big cloud from the Carpe Diem bits & piece and cut up the blue and yellow piece from PFS Felicity die cuts pack, into 2 pieces, tucking both of them under the cloud piece. I finished off by wrapping around the bottom of the card some of the Whisper Studio Co. blue and yellow bakers twine and VOILA!!!

I hope you all had a lovely April and have had lots of time playing with your kits I would love to see them feel free to tag me in them on your instagrams my username is instamemories86. Until next week, Happy Scrapping everyone xx
~Zoe~

Thinking Outside the Box!

So I'm often thinking of ways that I can capture and create memories, and I'm sure I'm not the only one who wishes they could have a whole wall of memories but still get the pleasure of scrapbooking them. Well that is just what I am wanting to do. I am wanting to re-decorate my bedroom/craft area in a teal blue with hints of black and white so when I found this frame for only £1.99 in B&M I just had to get it! Here I am with some inspiration for you and how I completed the first of many projects.


So here is the end result..I will now talk you through how I created it window, by window.


So here is the first frame. We went on a trip to Brighton last week (yes we were lucky to get the lovely weather...now look at it again!) As usual I took a tonne of photo's and all of my layouts and designs over the next few weeks will be focused on this trip.
So here we have a picture of the Brighton Pier. For this window I used the following products:
From the Lite Kit:
Maggie Holmes Bloom - Afternoon Cardstock
Simple Stories Carpe Diem - Bits & Pieces
From the Embellishment Kit:
Elle's Studio Little Moments -  Bits & Pieces
Pink Fresh Studio Felicity - Puffy Sequin Stickers
Simple Stories Carpe Diem - Chipboard Stickers

Firstly I cut a 4x6 piece of the Maggie Holmes Bloom Afternoon cardstock and a piece of the same size of white cardstock and adhered the pattern paper to it, to give it more stability.
Next I printed my picture off my Canon Selphy at 6x4 with a border so it would be smaller than the backing paper, especially when I trimmed the border down even more with my cutter. On the photo itself I stuck one of the Carpe Diem Chipboard stickers which reads best day ever, 3 of the Pink Fresh Studio Felicity Puffy Sequins and overlapped a couple of pieces of the Carpe Diem bits and pieces ephemera pack. In the right hand top corner of the photo I stuck on the Carpe Diem Chipboard Anchor and to finish off I used one of the Elle's Studio bits and pieces which reads Treasured Photographs.


Frame #2 and the products used:

From the Main Kit:
Pink Fresh Studio Life Noted Washi Stickers
Pink Fresh Studio Felicity Die Cuts
From the Lite Kit:
Fancy Pants Attwell Black & White Puffy Alphabet
From the Embellishment Kit:
Pink Fresh Studio Felicity Puffy Sequin Stickers
Extras:
March April Pocket Card Kit

The next window is a 4x3 size and I hadn't realised when I made this window there were sadly no number stickers on the Attwell Puffy Alpha's sheet so I had to rummage through my stash to find some. I started by using one of the wood-grain 3x4 cards from the March/April Pocket Card Kit as my base. Because this was a card already I didn't feel the need to adhere it to more card. I then used the Attwell Black and White Puffy Alphabet stickers to spell out Brighton. At the bottom I used one of the Pink Fresh Studio Life Noted Washi stickers (I LOVE THESE!) and that says Memories to remember always. To finish off this small card I used one of the hearts from the Pink Fresh Studio Felicity Die Cuts and one of the Felicity Puffy Sequins.


Frame #3 and the products used:

From the Main Kit:
Maggie Holmes Bloom Afternoon Cardstock
Pink Fresh Studio Felicity Confetti Hearts Cardstock
Pink Fresh Studio Life Noted Washi Stickers
Pink Fresh Studio Felicity Die Cuts
From the Embellishment Kit:
Elle's Studio Little Moments Bits & Pieces

This frame was a 5x5 size. Firstly I went onto my pic stitch app and used the 4 photo design. I added my photo's and when it came to printing, made sure the border option was on that way all 4 photo's would fit on a 6x4 photo sheet. I trimmed down the border and adhered it to the Maggie Holmes Bloom Afternoon cardstock which I had cut down to 5x5 and adhered that onto a piece of white cardstock of the same size. I cut 2 strips of the Pink Fresh Studio Felicity Confetti Hearts Cardstock (I didn't bother measuring, I just guessed) and put those behind the photo at the top and bottom of the photo. I wanted the picture off centre to the right so I could add 2 of the Pink Fresh Studio Life Noted Washi Stickers. In the middle I added one of the hearts from the Pink Fresh Studio Felicity Die Cuts and finished this design off with 2 pieces from the Elle's Studio Little Moments Bits & Pieces.

Frame #4 and the products used:

From the Main Kit:
Maggie Holmes Bloom Afternoon Cardstock
Pink Fresh Studio Felicity Confetti Hearts Cardstock
Pink Fresh Studio Life Noted Washi Stickers
From the Lite Kit:
Simple Stories Carpe Diem Bits & Pieces
From the Embellishment Kit:
Elle's Studio Little Moments Bits & Pieces

This was the biggest window of the frame at size 5x7. Same as the previous window's so far I used the Maggie Holmes Bloom Afternoon cardstock cut at 5x7 inches and matted it on white cardstock. I also matted my photo on this one. I used the B side of the Pink Fresh Studio Felicity Confetti Hearts cardstock. Before I adhered all of these I used 2 of the tag shapes from the Elle's Studio Little Moments bits & pieces and layered them under the top right corner of the photo. I then added another piece of ephemera from the same collection to write the date on at the bottom of the photo. At the top I used another of the Pink Fresh Studio Life Noted Washi Stickers (told you I love these!) and finished off by sticking down 2 bits of ephemera from the Simple Stories Carpe Diem Bits & Pieces pack.

Frame #5 and the products used:


From the Main Kit:
Pink Fresh Studio Life Noted Washi Stickers
Pink Fresh Studio Life Noted Rubber Charm Stickers.

For this 4x4 sized window I just matted it onto white cardstock as I wanted the photo to fit the whole frame. I used one of the Life Noted Rubber Charm stickers in the top corner and you guess it...more Life Noted washi stickers!

Frame #6 and the products used.

From the Main Kit:
Pink Fresh Studio Felicity Confetti Hearts cardstock
Simple Stories Carpe Diem Bits & Pieces
Pink Fresh Studio Life Noted Rubber Charm Stickers

This was a vertical 4x6 frame and again I wanted the photo to be the main focus so I backed it onto some of the Felicity Confetti Hearts cardstock A side, but only left a thin border so I could see a few of the hearts on it here and there. I am astounded by how many pieces come in the Carpe Diem bits & Pieces set...there's loads! I used three more in this frame and finished it off with one of the Life Noted Rubber Charm stickers.

Frame #7 and the products used:

From the Main Kit:
Fancy Pants Attwell Aqua Puffy Alpha Stickers
From the Lite Kit:
Fancy Pants Attwell Black & White Puffy Alpha Stickers
From the Embellishment Kit:
Fancy Pants Attwell  Green Puffy Alpha Stickers 
Simple Stories Carpe Diem Chipboard Stickers 
Pink Fresh Studio Felicity Sequin Puffy Stickers
Elle's Studio Little Moments Bits & Pieces

So for the last and final frame I decided I'd already got enough pictures and chose to put something a little more decorative in there. Using the Attwell Puffy Alpha's from the Main, Lite & Embellishment kit I stuck them onto a 3x4 piece of the Pink Fresh Studio Felicity Confetti Hearts cardstock, spelling the words LIVE LAUGH LOVE, I love this saying. For decoration I used one of two of the Carpe Diem Chipboard stickers One of the Pink Fresh Studio Puffy Sequins and one of the Elle's Studio Little Moments Bits & Pieces and I'm really pleased with how the card turned out.

I hope you like what I managed to come up with, this has now take place on an empty wall in my bedroom which I am going to fill with different frames. If you give something like this a go I'd love to see.
Until later...Happy Scrapping ~Zoe~

Telling simple stories 1

I'm moving at the end of May. My new job is very exciting and creative but moving house is a wrench. In no small part due to the fact that I adore living right by the sea in a really beautiful part of the country. So now I want to record lots of things about the place before I go for my seaside-sick moments.
I was sent a Simple Stories designer binder and the pocket card kit and couldn't wait to start playing.

I quickly realised that I am really no project lifer and have made loads of mistakes but it is still turning into an album that I know I will love and treasure.
Here is the first page

 I struggled with photo/card placement as I will have a lot of landscape photos and decided in the end to just have pages that need you to keep turning the binder in different directions to read!
I used papers from the main kit to mat my photos and journalling along with the cut out sheet of labels.
I didn't read Leo's warning about the lovely rubber charms (ie "please use them with a solid fixing such as a brad, sewing or a staple or put them in a pocket and avoid positioning them directly on photos as rubber can react to some photo emulsion coatings") but so far so good. Ironically I am doing something I love which is to put some things inside the pocket and some on the outside so the charm is on the photo but the phrase below is on the pocket
My next page is all about the excitement of seeing one of our local seals - who looked much bigger to the naked eye!
 
 This page is on the other side of the one before and I got myself very confuddled about placements. I stuck everything directly on to the same cardsand in the end the opening to the smaller pockets is at the bottom so those cards risk slipping out. Doh.

I cut up some of the little squares from the squared paper and layered them (cutting one in half) behind the Pinkfresh Studio Felicity die cut frame. The little arrow is made from a dissected  Atwell arrow/chevron shape
I'm on a steep learning curve and am realising that simple looking does not equal faster completion time but I am enjoying myself immensely!