
I cut the banner from one of the other papers and cut out the tags that were part of it. I often do this with printed on features like this as it makes them more dimensional. I punched out various heart shapes with different sized punches. I also chose some elements from the sticker sheet to outline. I do this by peeling them off and sticking them onto the back of the sheet so they are easy to remove again when you want to use them on your layout.
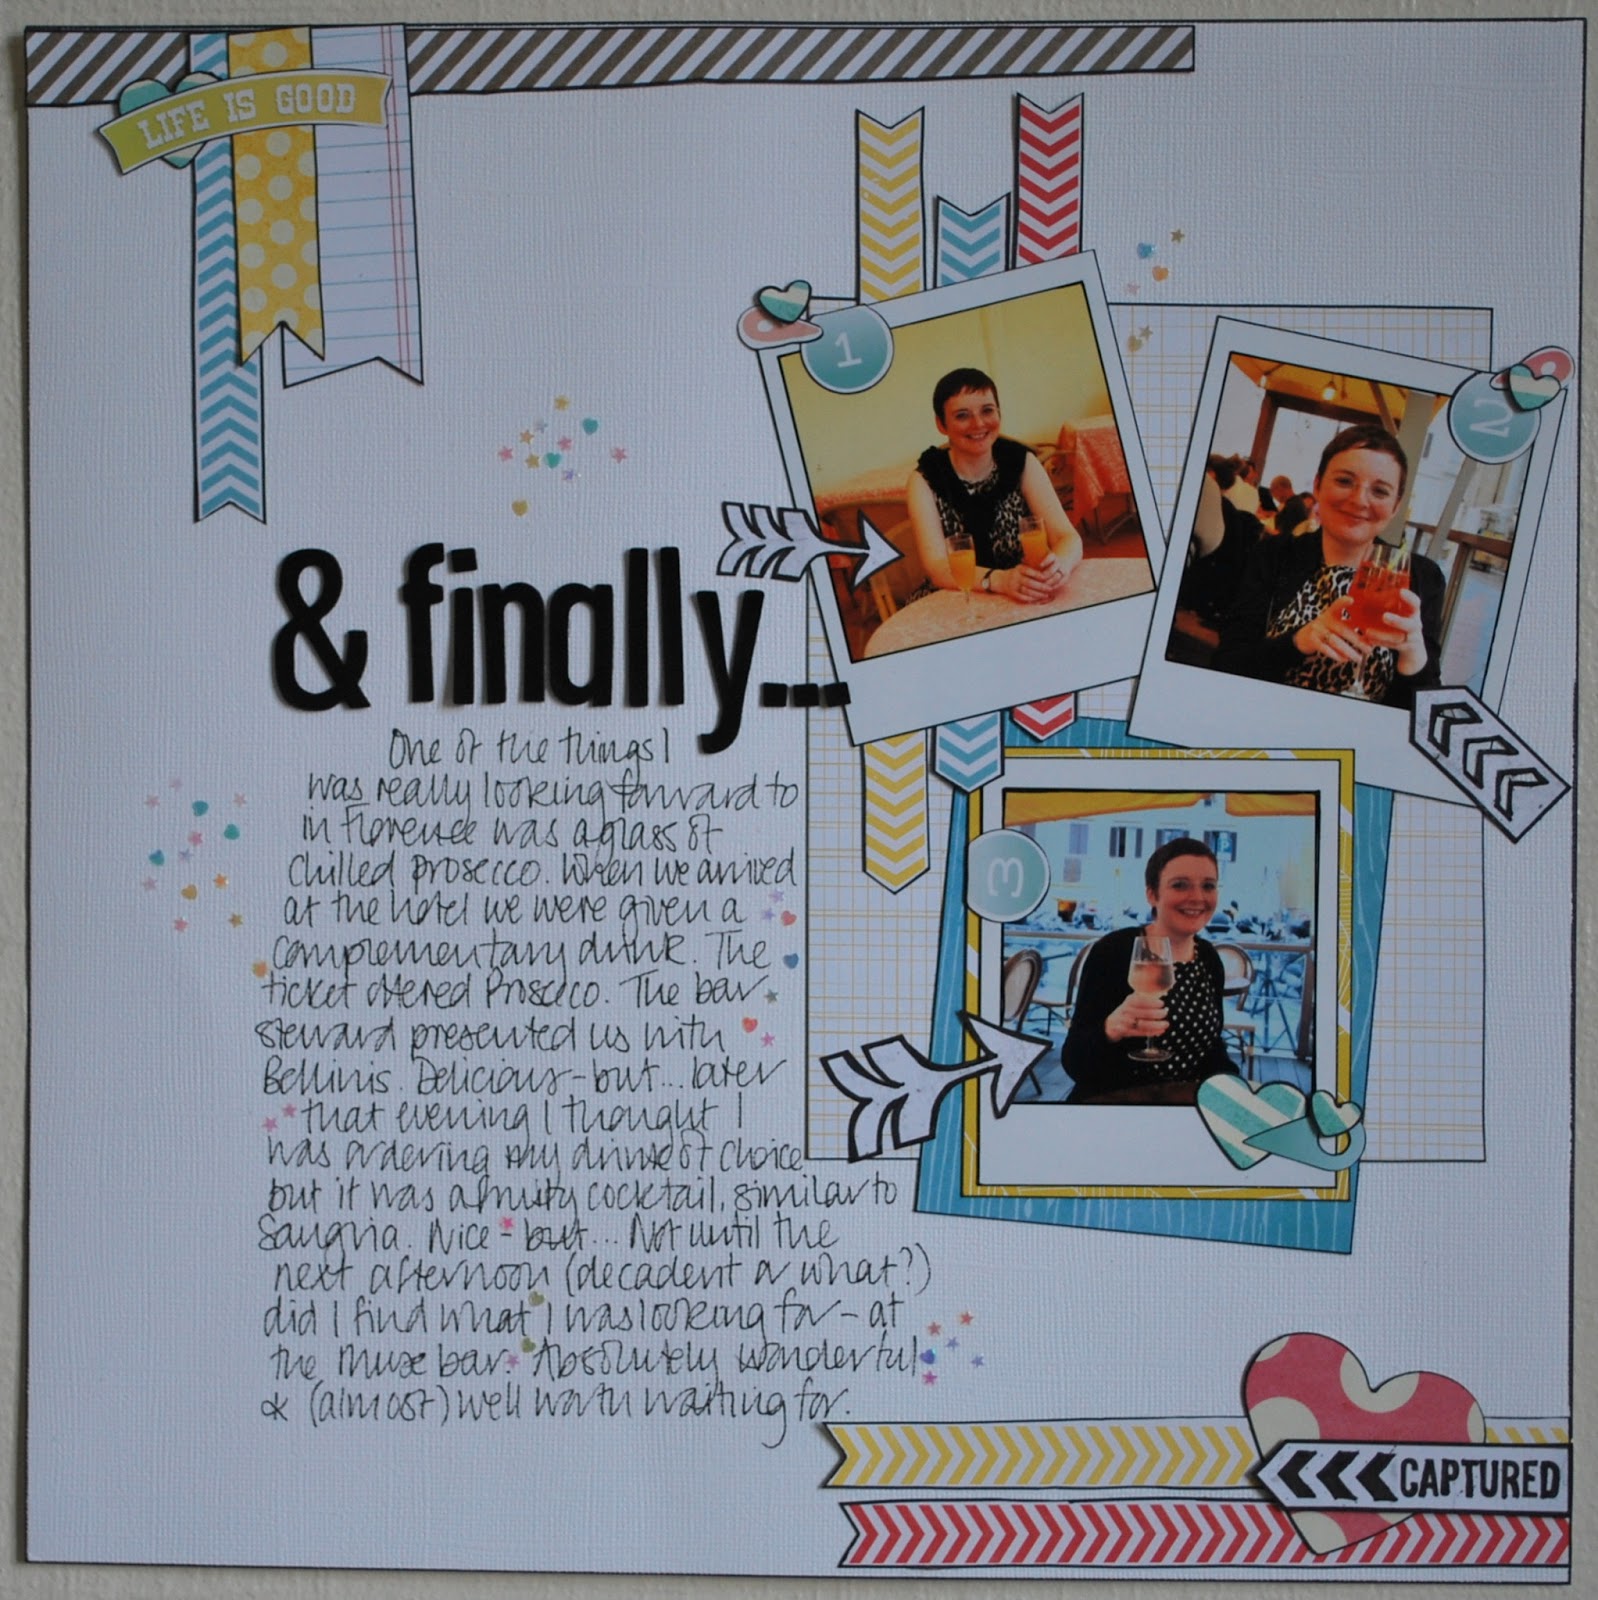
When I was happy with placement I stuck down my papers, stickers and photos. I knew I had a lot to say so made sure there was a big space on the left hand side. Initially I used the sticker sheet alphabet to make the title but it was a little too soft - I needed something more graphic so resorted to pulling out some old Thicker Sheets. Of course most of my old Thicker sheets are running out of vowels so a little bit of improvisation went on!
Once I had finished my journalling marathon I sprinkled some of the darling teeny confetti over parts of the page and used Glossy Accents to stick them down. Enormously fiddly but worth it!

How did you do the polaroid's on Picassa, I've got it but haven't seen that function!
ReplyDeleteDawn you need to make sure you have updated to Picasa 3. There are all sorts of extra editing choices if you have that. If you are already on Picasa 3 and haven't spotted it you need to click on the icon with the paintbrush and the blue square and polaroid is the last option. The default is to save them at an angle but I tend to straighten them up first (and then stick them at an angle!)
ReplyDelete