A Roly Poly page

Hi There!

What a beautiful day to share a Layout, I hope the sun is out where you are too! The sun was out when the picture for my layout was taken earlier this month, the first nice weekend of the year and we were lucky enough to be in our caravan. There is nothing that I like better than sitting outside enjoying the company of my friends, listening to all our children playing together and enjoying a beer...or two ;)

There is so much scope with this kit to get really creative, I saw a tutorial on felt pompom flowers a while back and wondered if it would work with the denim, and guess what, it did! I have posted a link to the tutorial on my blog if you would like to have a go yourself (I didn't sew it together though, I just used strong double sided tape to bind the fabric together and along the whole edge again when I rolled it up)

I used the packaging the kit came in to make a mat for my photo, after cutting it to size I punched one edge and folded it into 4 before cutting along all the folded edges again, I then arranged the 4 pieces haphardly before placing some of the tulle over the top and held it all together with a staple. This meant I had loads of room to tuck other pieces of PP in between the layers.
The triangles are a large square punch cut in 2, I used them to make photo corners too. I used my sewing machine to add texture to some of the triangles and the die cut feathers. I used distress ink to colour the little birds.

Did I miss anything? Is there anything you would like me to explain? If so then let me know in the comments, I would be happy to help if I can.

See you soon!

Nikki xxx

Pockets full of memories...

Hi there!

This is my third layout using the main kit and there's still plenty left for other projects (well apart from the Alison Kreft Woodgrain, which got eaten up by disasterous craftrobo attempts, but more of that later...)


I took inspiration from a few places for this layout, as soon as I saw this gorgeous Layout I knew I wanted to do my own version of it and this cute little idea was going to appear somewhere too. Plus I've been trying out a few new techniques, I've diligently been practising the cursive style of handwriting over the past few nights because I always think my writing makes my layouts look untidy, there's a way to go yet but I'll keep practising! Of course I couldn't go without telling you the rest of the robo saga, after finally pulling Mr Robo out of retirement (he's been languishing in a cupboard for about 5 years after failing to get to grips with him first time round) I failed miserably cutting my title with the Websters PP that I wanted to use. In the end I used copy paper, less tears if it all goes pear-shaped, and I still had to cut out all the little holes myself! Will keep practising with my robo too, there's always something to learn with this fantastic hobby isn't there?

Again, any questions you have about the layout please leave it in the comments and I'll be happy to answer it for you.

look forward to hearing from you!

Nikki xxx

Sorry

This is another layout that didn't end up as planned but is all the better for it
It was going to be all the more bottom heavy with strips but somehow it just wasn't working.
After the leaves landing randomly on the cardstock roughly where they are now, I knew I wanted the top right to be quite light, but realised that there was almost too big a gap with the paper strips right down to the bottom of the page.

So I chopped up and added in a few more pieces and it was much better. I trimmed down those fabby birds into a neater shape and just kept layering ribbons and scraps until it felt right. I mounted the photo on the net, to give it a really light mat. I knew I wanted that yellow flower to the right of the photo. (Why? I don't know, I just liked it there!) I cut out the bike and the thin arrows using my Silhouette Machine and the leaves are a Clearly Besotted die. Everything else comes from the kits. After sticking it all down, I realised I needed just a touch more and went round all the papers and washi tape with a thin brown pen. It would have been easier to do that before the netting went on!

Anyway, I am not sorry I changed things up. I am still sorry about the bike riding thing though...

The best laid plans

I thought that I might try being inspired by the Pinterest Pointers post that Leo put up recently. The inspiration turned out to be quite tenuous in the end. Mostly because I cut the wrong sized flowers using my Tattered Floral die (should have gone next size down) and also - as I am lucky enough to now own a Silhouette machine, I wanted to try cutting my title from my base cardstock. So what I ended up with is this (using mostly the Lite kit)


The photo is a conversion of a slide (as well as being veeeerrry old) which is why it is a funny colour and has lots of marks on it. I could have cleaned it up a bit more but a) I don't really know how to do that and b) like listening to vinyl rather than CD's sometimes it is the glitches that make things more interesting.

I had cut a few more flowers from the fabric but, as I said my idea just didn't work so I decided to use the rest of the denim to back the lettering I cut out for the title.

It might have been nice to have put the middles of the letters back in if I hadn't lost some of them on the way up to my craft room from the computer.

I outlined all the flowers with Distress Ink and spent ages playing with placement before sticking them down and adding a ribbon border on the right hand side, and another ribbon pennant by the title for balance.
I wrote my journalling in a free hand way and then all that was left to do was add some Stickles and Liquid Pearls to the centre of the flowers. I learnt the hard way that it was better to draw a circle with a pencil first. I left the pencil marks there because I reckon they would be more trouble than anything to try and erase them and unless you are looking really close up (as in the next photo) they are virtually invisible


Although what I ended up with was not what was intended I like the late 60'/early 70's  vibe that the large flowers bring to the layout

McBirthday


yes we really know how to party. Actually this was one of the best birthday parties ever and this photo of my cute boy needed to be scrapped.
I began by spraying some yellow glimmer mist directly onto the cardstock . I added some dots of colour from the bottle as well.
I also sprayed the grid paper with yellow, orange and green mists. One of the pieces was cut into a crown shape.
Then it was a case of chopping up bits of patterned paper and moving them around until I felt happy about it. I punched one of the papers using a swiss cheese punch and also added in one of the little paper bags as an extra pattern.
I die cut the month from calendar paper using a banner die and also sprayed this piece yellow.
Once I was happy with placement I stuck it all down and outined it with a black pen (medium thickness)
I added some washi tape to the top and bottom of the photo and then covered a piece of white card with diagonal strips of tape. I die cut the card using various star dies and outlined both the stars and the stripes within to add contrast (NB you do need a steady hand for this!)
I added the thin gold ribbon to various places using glossy accents. A title using the Thickers from the kit; a spot of journalling and some gold stickles dots and I called it done.

Quirky Classroom - Denim pinwheels with the 'Roly Poly' Quirky Kit Lite

For my first project with the new kits I decided to start with the Lite kit as I couldn't wait to play around with the fabrics. I've already been pinning denim flower and embellishment ideas on the Pinterest board for this months' kits so I was all set ready to play!

I've put together this post as a layout class you can follow or you can use any of the ideas separately to make up a different project but I've tried to put lots of different ideas together for you to try out.

Favourite Tree


To start out I took all the papers from the Lite kit and cut off small strips of various random widths, (all the lengths are 12 inches). I want to use both sides of the papers so I've cut two strips from some of them so I can flip them over and use both patterns.

 
Next I arranged the papers strips so they layered, some going over the top, some sat underneath then stitched them in place with my sewing machine using just one line of stitching down the center of each strip. If you're not sewing put your tape or glue down the center of the strips of the papers to glue them in place so the edges are loose.
 
 
Once they were fixed down I bent up the edges of the paper strips that were layered over the top to create some texture on the background:
 
 
Next I've cut out some small pieces of the netting fabric from the kit and added a piece across the top and a piece across the bottom just to add some more texture:
 
 
Next I put together the denim pinwheel embellishments. To make these grab the denim fabric from the kit, some scissors and a needle and thread.
 
The first stage is to make a square in the size you want your finished embellishment to be. The easiest way to do this is to fold over your fabric on one edge to make half a square then cut around the edge so when you unfold it you have your square of fabric.
 

Next cut into each corner of the square until you're about 1cm away from the middle:

 
Fold up each alternate corner of the fabric edges to form the pinwheel shape:

 
Use a stitch to hold all the edges of fabric together in the middle:

 
From here you can choose what you'd like to add the center. I went with buttons as they seemed appropriate along with using fabric but you could use a brad, a flat back gem or a cut out piece of paper or a round sticker instead.
That's one of the embellishments finished. I made two for my finished layout one about 8cm across in size and a smaller one 6cm across.
 
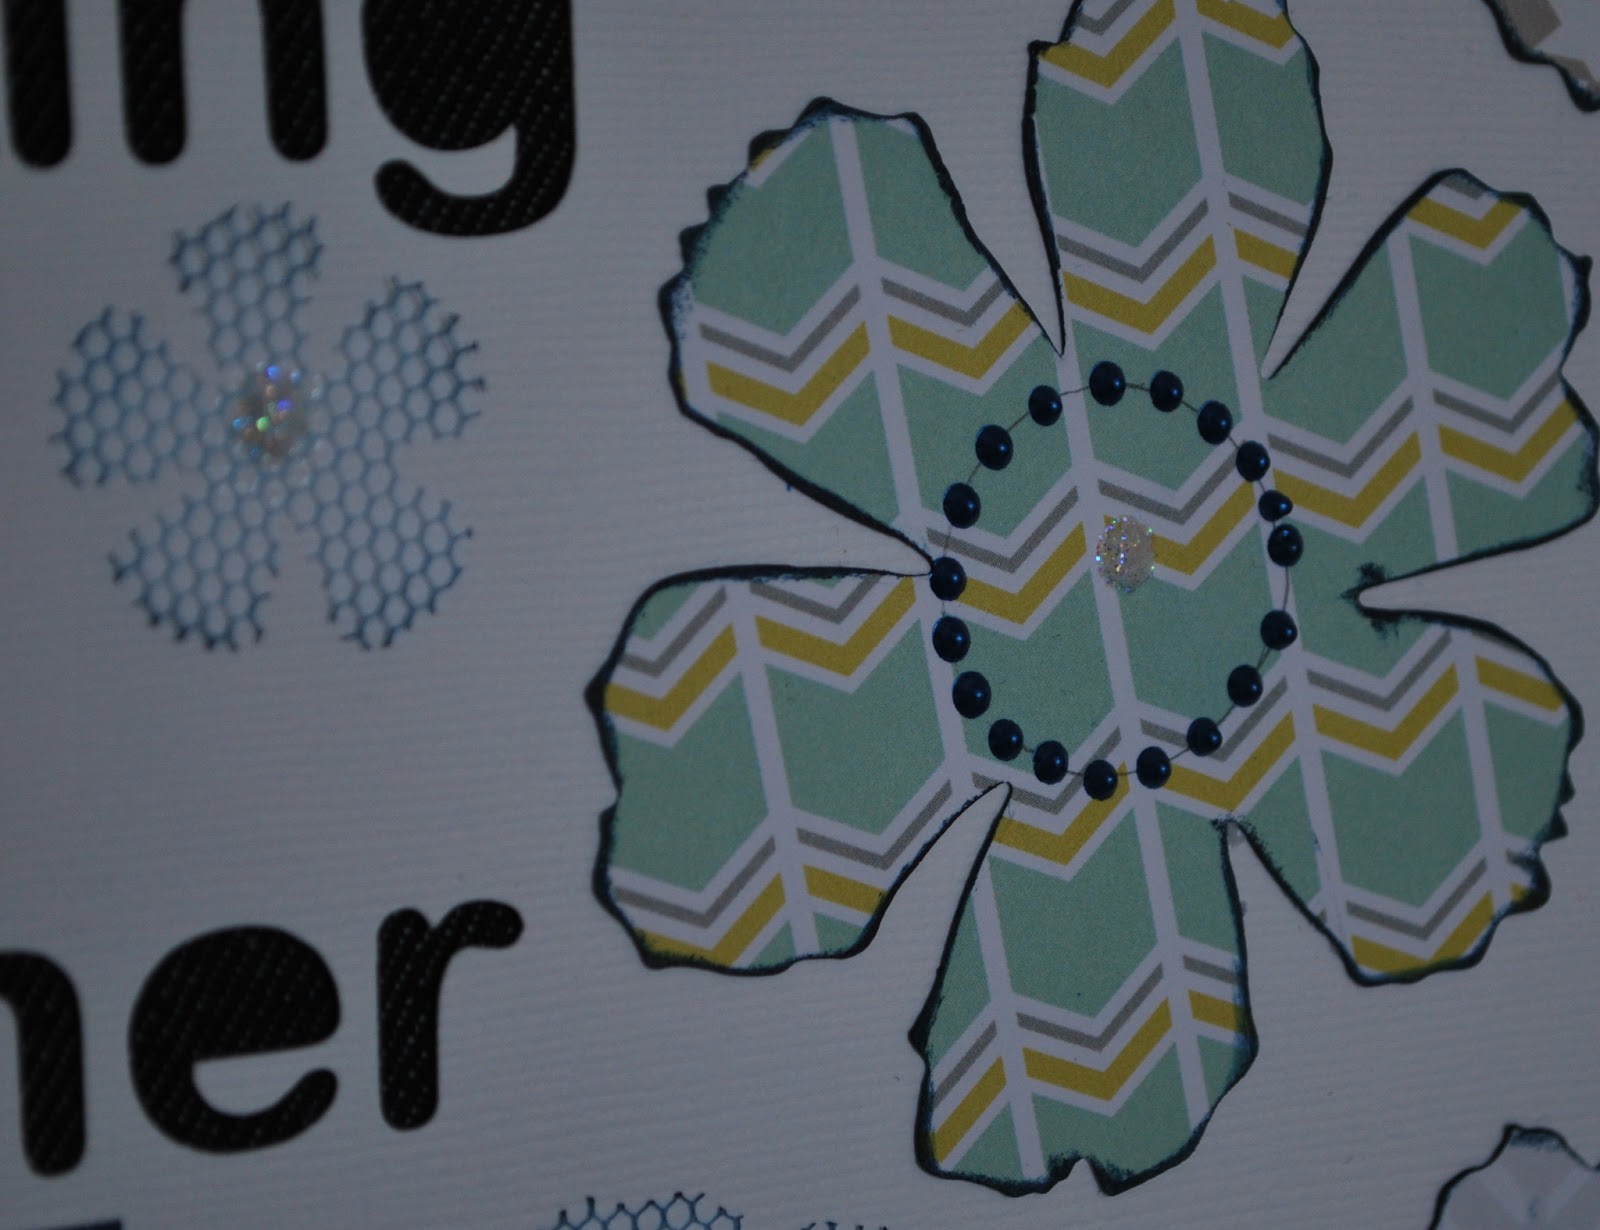
For the next part I picked out the Crate Paper 'Emily Jane' sheet, the one with the large flowers, from the kit. I wanted to cut out some of the flowers to use in relief down the side of the layout so I aimed for the shapes on the pattern that were the easiest to extract.
 
 
I added the cut out flowers to the layout using 3D foam pads to give it definition against the paper strips. I also added some of the paper posies from the kit tucking them underneath the cut out flowers so they look like they're growing alongside them:
 
 
I added the journaling to the layout using a block of the Teresa Collins Memories papers and highlighted parts of the journaling using the mini alphabet stickers from the kit fixed onto off cuts of white cardstock the cut out in pieces to add to the layout:


 The off cuts of denim fabric from making the pinwheel embellishments I stitched across the top and bottom of the layout just because I didn't want them from going to waste and they kind of 'ground' all the embellishments to stop them looking too floaty around the page?

Finished layout:

I hope you can pick out some of the ideas to put into your layouts and projects. Pop back and leave a link to you finished project or email it to me at enquiries@craftyprincess.co.uk if you do so I can come and peek. Have fun!

I'll be back with a project idea using the main kit next and an idea for a layout using a 'photo grid'.
x Leo

The Grasshopper Hunt...

Hi There!

As promised I'm back to share another Layout with 'A Pocketful of Posies'. At first glance this Kit seems to have pink predominantly running through it but this time I managed to make a layout without using any!

I chose a sunny pic of my 3 gorgeous boys intent on their hunt for Grasshoppers in the fields of Brittany last year. The story is hidden in the pocket behind the photo, I love hidden journalling because I never think my handwriting looks right on the page!


I made use of the fabric leaves and wood veneers to embellish the page, covering the veneers with patterned paper as you can see here..


I hope that you se something here that inspires you today and if you have any questions please do so in the comments and I'll do my best to answer them.

Can you use your kit without any hints of pink? If you do I'd love to see them!

See you soon,

Nikki xxx

Creating with a Pocketful of Posies

Hi There!

Nikki here with a Layout to share with the latest Quirky main Kit A pocketful of Posies


If you would like to see how this layout came together step by step then please visit my blog

But just for you lovely Quirky Ideas readers here is are a few close-ups...!

I just love the little bird embellishment, created by sticking a few strips of washi from the kit side by side and stamping over in Archival ink Fussy cut and raised on pop dots, a perfect finish for a layout that for me is evocative of hazy summer days.

Thanks for looking!
See you soon with more from this lovely kit,

Nikki x

Anything but pink

I grabbed a whole host of photos to use with the kit as I mentioned on my last post. I then discovered that most of them include red somewhere whereas the kit has a fair amount of pink in it. I wasn't prepared to let that stop me though!
  
I decided that I wanted to tone down the pink a little but also use some more of the cardstock to stamp some butterflies, so  I cut some of the paper out from the middle
using the very tough technique of drawing round the patterned paper I was planning to use (on the back of the cardstock) and making sure what I cut out was smaller than that! You can use maths but a pencil will do...

I have two matching sets of Clearly Besotted stamps which use a gingham similar to the checks on the kids clothes. I stamped the square randomly, not inking up between every stamping, all around the edge
I inked the striped paper with black ink and chose a few other papers to layer up. Those with white borders I left uninked for a change. I then stamped and die cut some butterflies.
The lovely button trim was a bit too brown for my needs so I covered it with paint (which just soaked in) and then Opal Liquid Pearls which toned it down a treat and kind of matches the buttons on the shirts
I carefully added Glossy Accents around 3 edges of the photo and pressed the pink chain down into it gently to frame the photo
And finally I used pink Stickles to cover the thickers and make them more
Adding Stickles to thickers of any kind changes them completely and gives them a bit of on trend bling. I love it!
To make the journalling visible I painted a corner of the paper with cream paint. To be honest I am still trying to remember if those outfits were dark blue or in fact grey. There is definitely red smocking on the dress and to be fair - it was 16 years ago! It is a great memory to cherish and I am glad that I had the chance to put it on paper (and for the record Carys still looks best in navy blue)

Mixing It Up

Hi there.  I've a couple of cards to share today that use the soon-to-be released Crafty Templates - so a bit of a sneak preview of what's coming your way.

For this one I've used lots of papers from a couple of recent Quirky Kits - most of the pieces I needed were quite small so it was a good way to use up some really tiny pieces of paper that I just can't seem to throw away.  I wonder how small a piece of favourite paper has to be before you will actually bin it?
To make the umbrella sit off the the surface of the card yet still fold down for fitting in an envelope I've used a box hinge.  If you think of the cover section of a matchbox you'll get the idea of what one of these looks like. Make one out of a piece of scrap card to fit behind the pop-out section  For a large piece like this I made the box so that the umbrella stands about 1.5cms from the card.
By adhering 1 of the "faces" to the back of the pop-out piece and glue the opposite face of the hinge to the card. the other two faces remain clean.  Once dried the folds in the hinge allow you to squash the pop-out down.  It's worth double-checking before you stick anything that the card box hinge won't show when you do squash it down though.
I made the plants in 2 different sizes.  The smaller ones are actually fixed to the inside of the umbrella shape, the larger ones to the card itself.


On my second card I've used one of my old Craft Robo cutting templates and teamed it with a Crafty Templates Plant in Pot template from the 
"coming soon" set of templates

These flowers and pots are so cute and I know I'll be using them both on lots of projects.  The one I've used on this card is the "loopy" flower.  On Leo's template it has a spiral centre - it reminded me so much of the coiled roses I use so often, that I couldn't resist adding one for the centre of the flower.
I also cut a second set of leaves to add some extra dimension, and a tiny ribbon bow around the pot to make it look more of a gift.
That's it for this time.  I hope I've whetted your appetite for the new templates - they are a really fab set and I'm looking forward to sharing more of the things I'm making this month.

All the info about Crafty Templates and Quirky Kits can be found HERE

So happy

I was so happy when the Postie brought me the new kits yesterday. Boy are they awesome!
I decided to start by using the main kit - Pocket Full of Posies
When I am scrapping with a kit I tend to print up a load of photos at random and then say "now what could go with what" in a fairly random way. So I am also so happy that the colours in one photo I had picked out just seemed to match perfectly with the kit

Even the cardstock is the same colour as the dried out grass they are sitting on!
To make the background more interesting I used a Studio Calico mask and Picket Fence Distress Stain. Initially the chevrons were pointing downwards but when I turned the page around I was much happier with it. That is the beauty of 12x12

I cut away at several of the papers, fussy cutting flowers and frames and creating chevron strips with notched ends. I layered up the yellow heart paper and the stripe (which matches almost exactly the check pattern on my daughters clothes. Happy sigh) And then spent ages moving things around until I liked the placement. 

The little tags were just perfect for writing on who they were supposed to be (It is obvious really, well apart from Barbie possibly)
I snipped most of the cotton away and mounted them on foam tags, as I did the cut out flowers.
I think Leo did an amazing job of finding paper flowers that were the exact match in terms of colour
I squished the flower down a bit so it fits better in an album and coiled the stem around a pencil.
Hope this kit makes you happy too!